Sometimes a design starts with a DOODLE.
Embroidery Doodles
Leave a reply
Sometimes a design starts with a DOODLE.
Lap work is my favorite needlework. I love to knit. Embroider. Hand stitch. Mend. Lately I have been taking things apart so I can harvest pieces of fabric to use elsewhere. I love to painstakingly pick out stitches and cleanup the bits of thread up with my lint roller.
In knitting and sewing either by hand or on the machine I never seem to mind if I discover a mistake and have to go back. Picking, snipping and “unsewing” is as relaxing and satisfying as completing a finished project. I like to do a thing over and over until I get it right.
I like to buy cashmere sweaters on eBay and love to wash them in the sink gently squeezing them in warm water with shampoo. Then I rinse and squeeze again in fresh warm water and put them in the washing machine to spin out the water (never let them agitate or they will shrink and full (felt). Then I pop them into the dryer for only about 10 minutes with a fluffy dry towel, take them out and hang them on padded hangers to dry completely. The fibers bloom and they smell lovely- use shampoo that smells good to you. I do not ever have them dry cleaned. I don’t trust the toxic chemicals and they just don’t seem clean. They will not shrink if you are gentle with them.
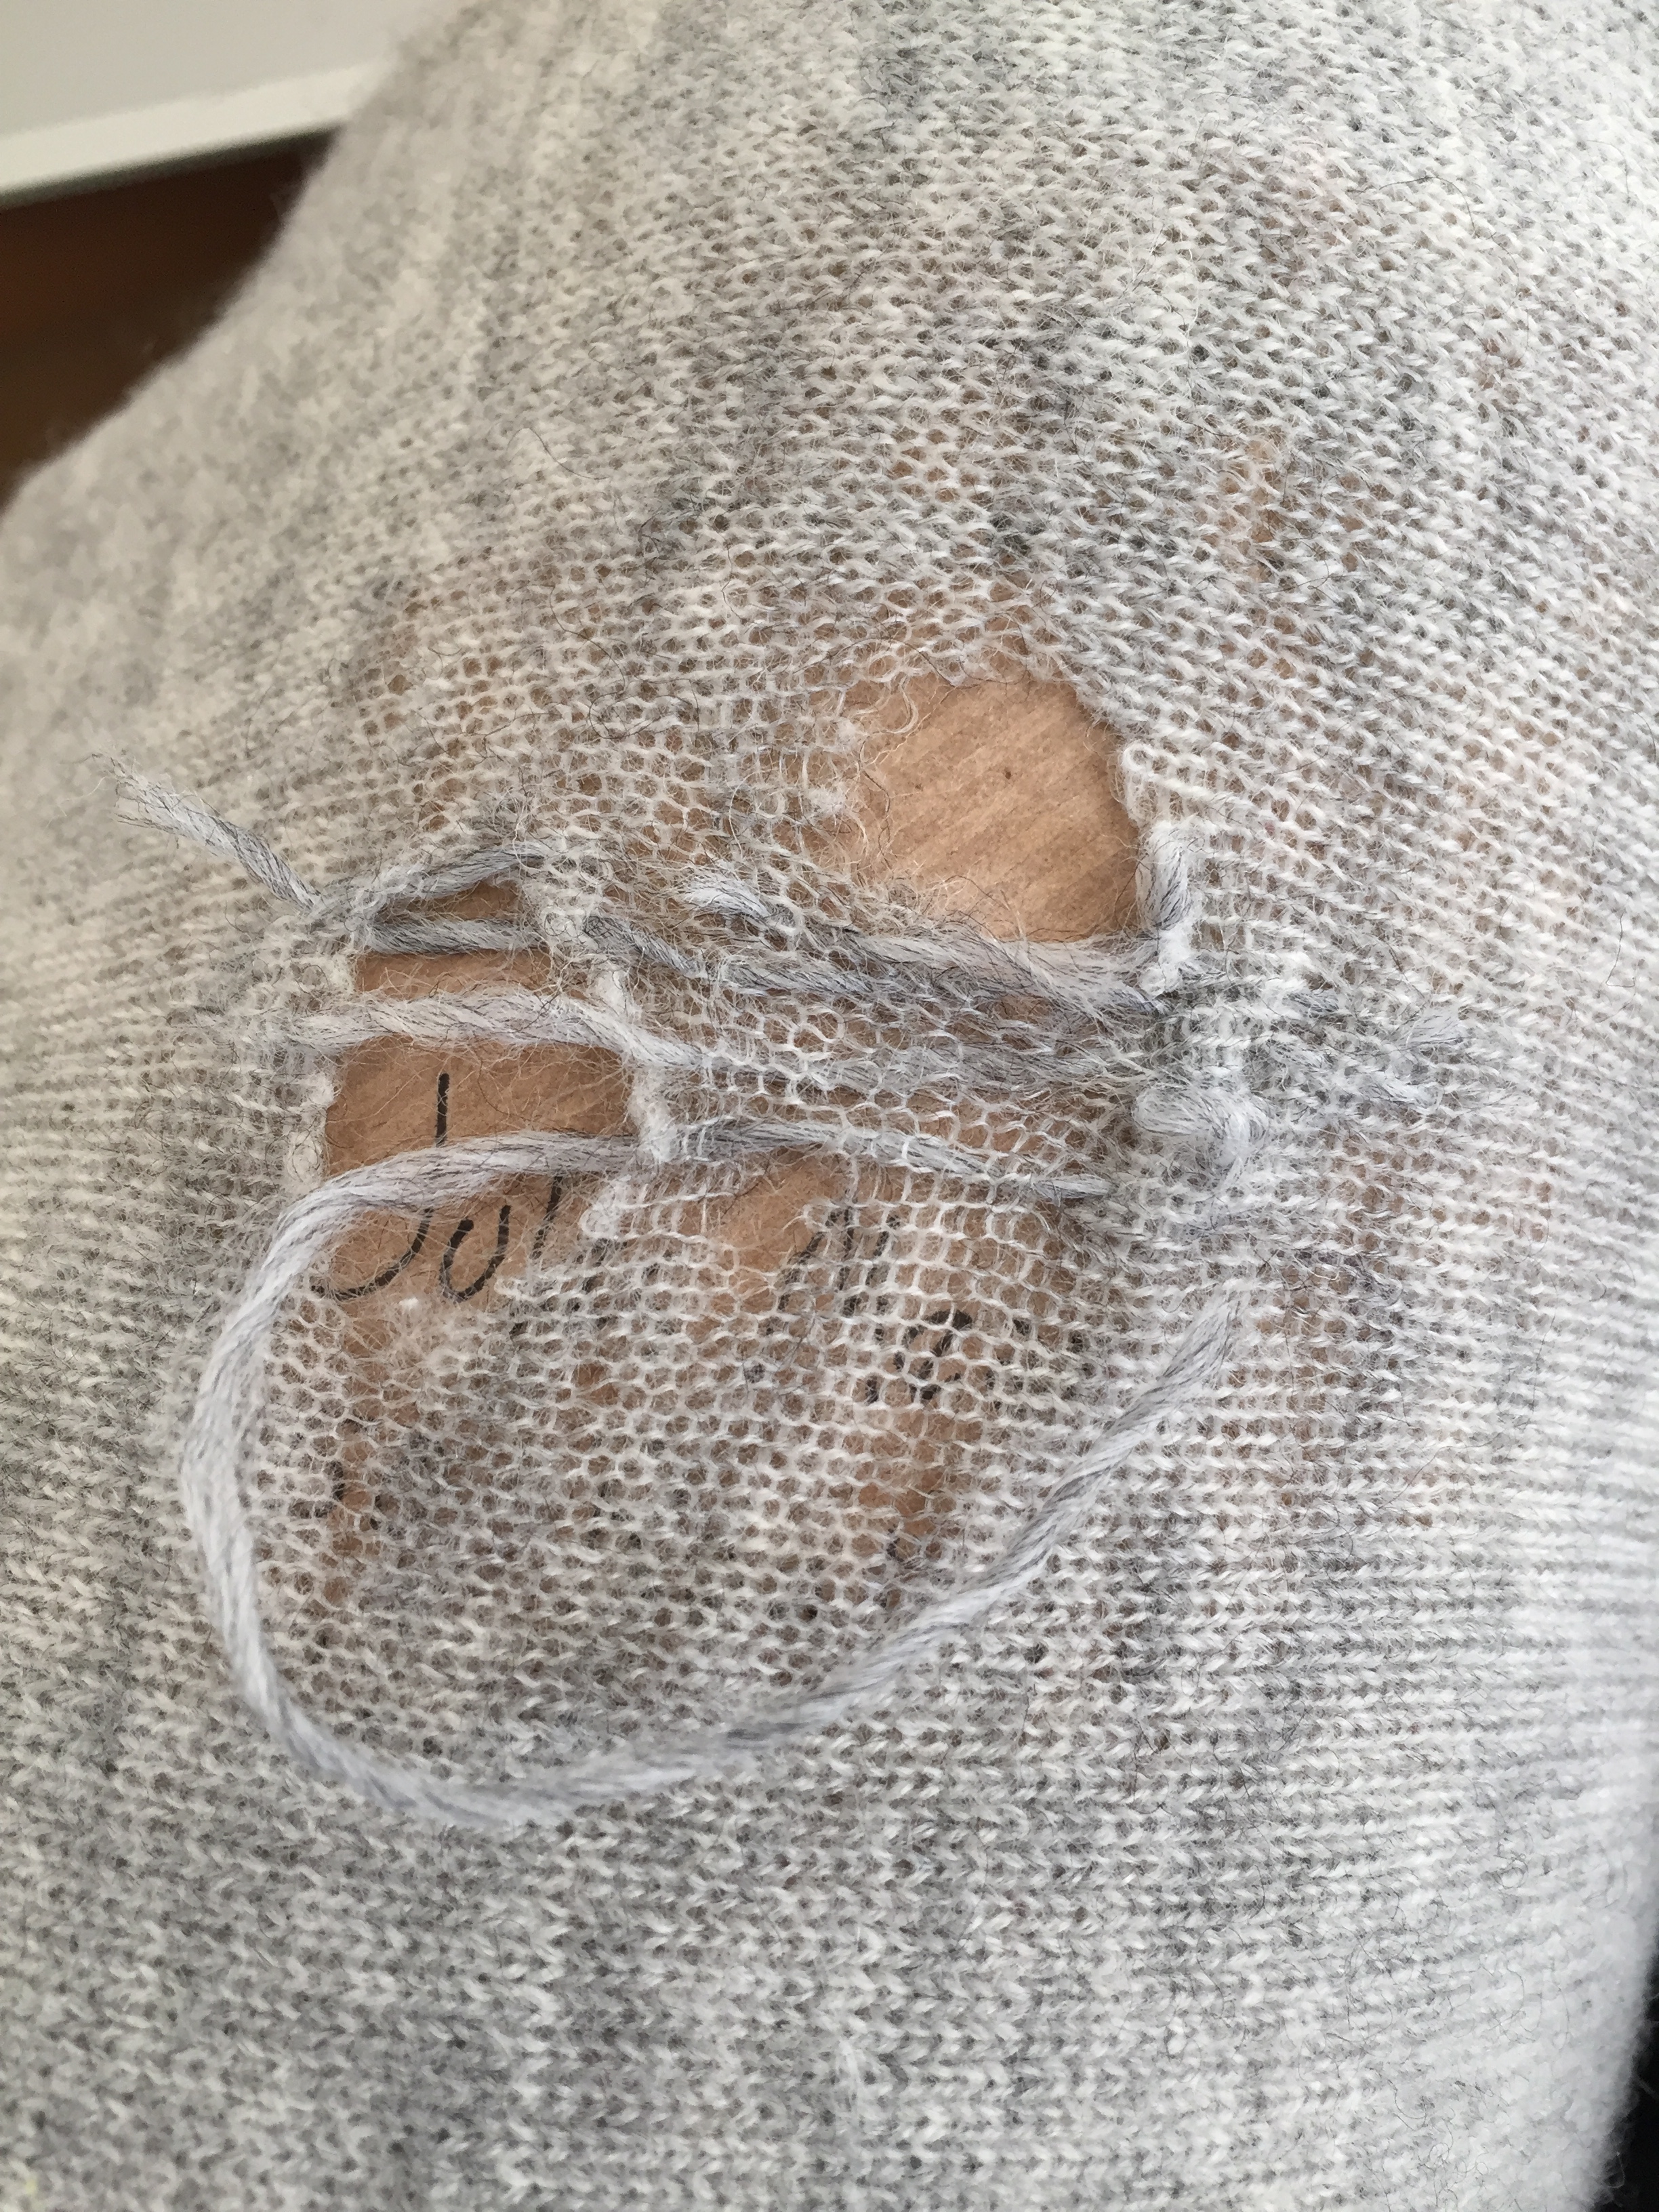
Here is one of my favorite cardigans that has been worn almost to death:

And here is the process. I had to practice and I took all the threads out a few times to start over. The most difficult thing is to let the fabric lie flat and to not pull or stretch the long warp and weft stitches as you create them. Puckering will result in an unsightly patch.
I was snowbound up in Maine for a week house and dog sitting for my kids while they escaped to sunny Sanibel Island. This was the perfect time to perfect this discipline. I had never mended anything this way. For thread I used some gray knitting wool by Cascade. It was 3 or 4 ply (I now forget) and very soft. I had to pull and let it twirl as I separated it.
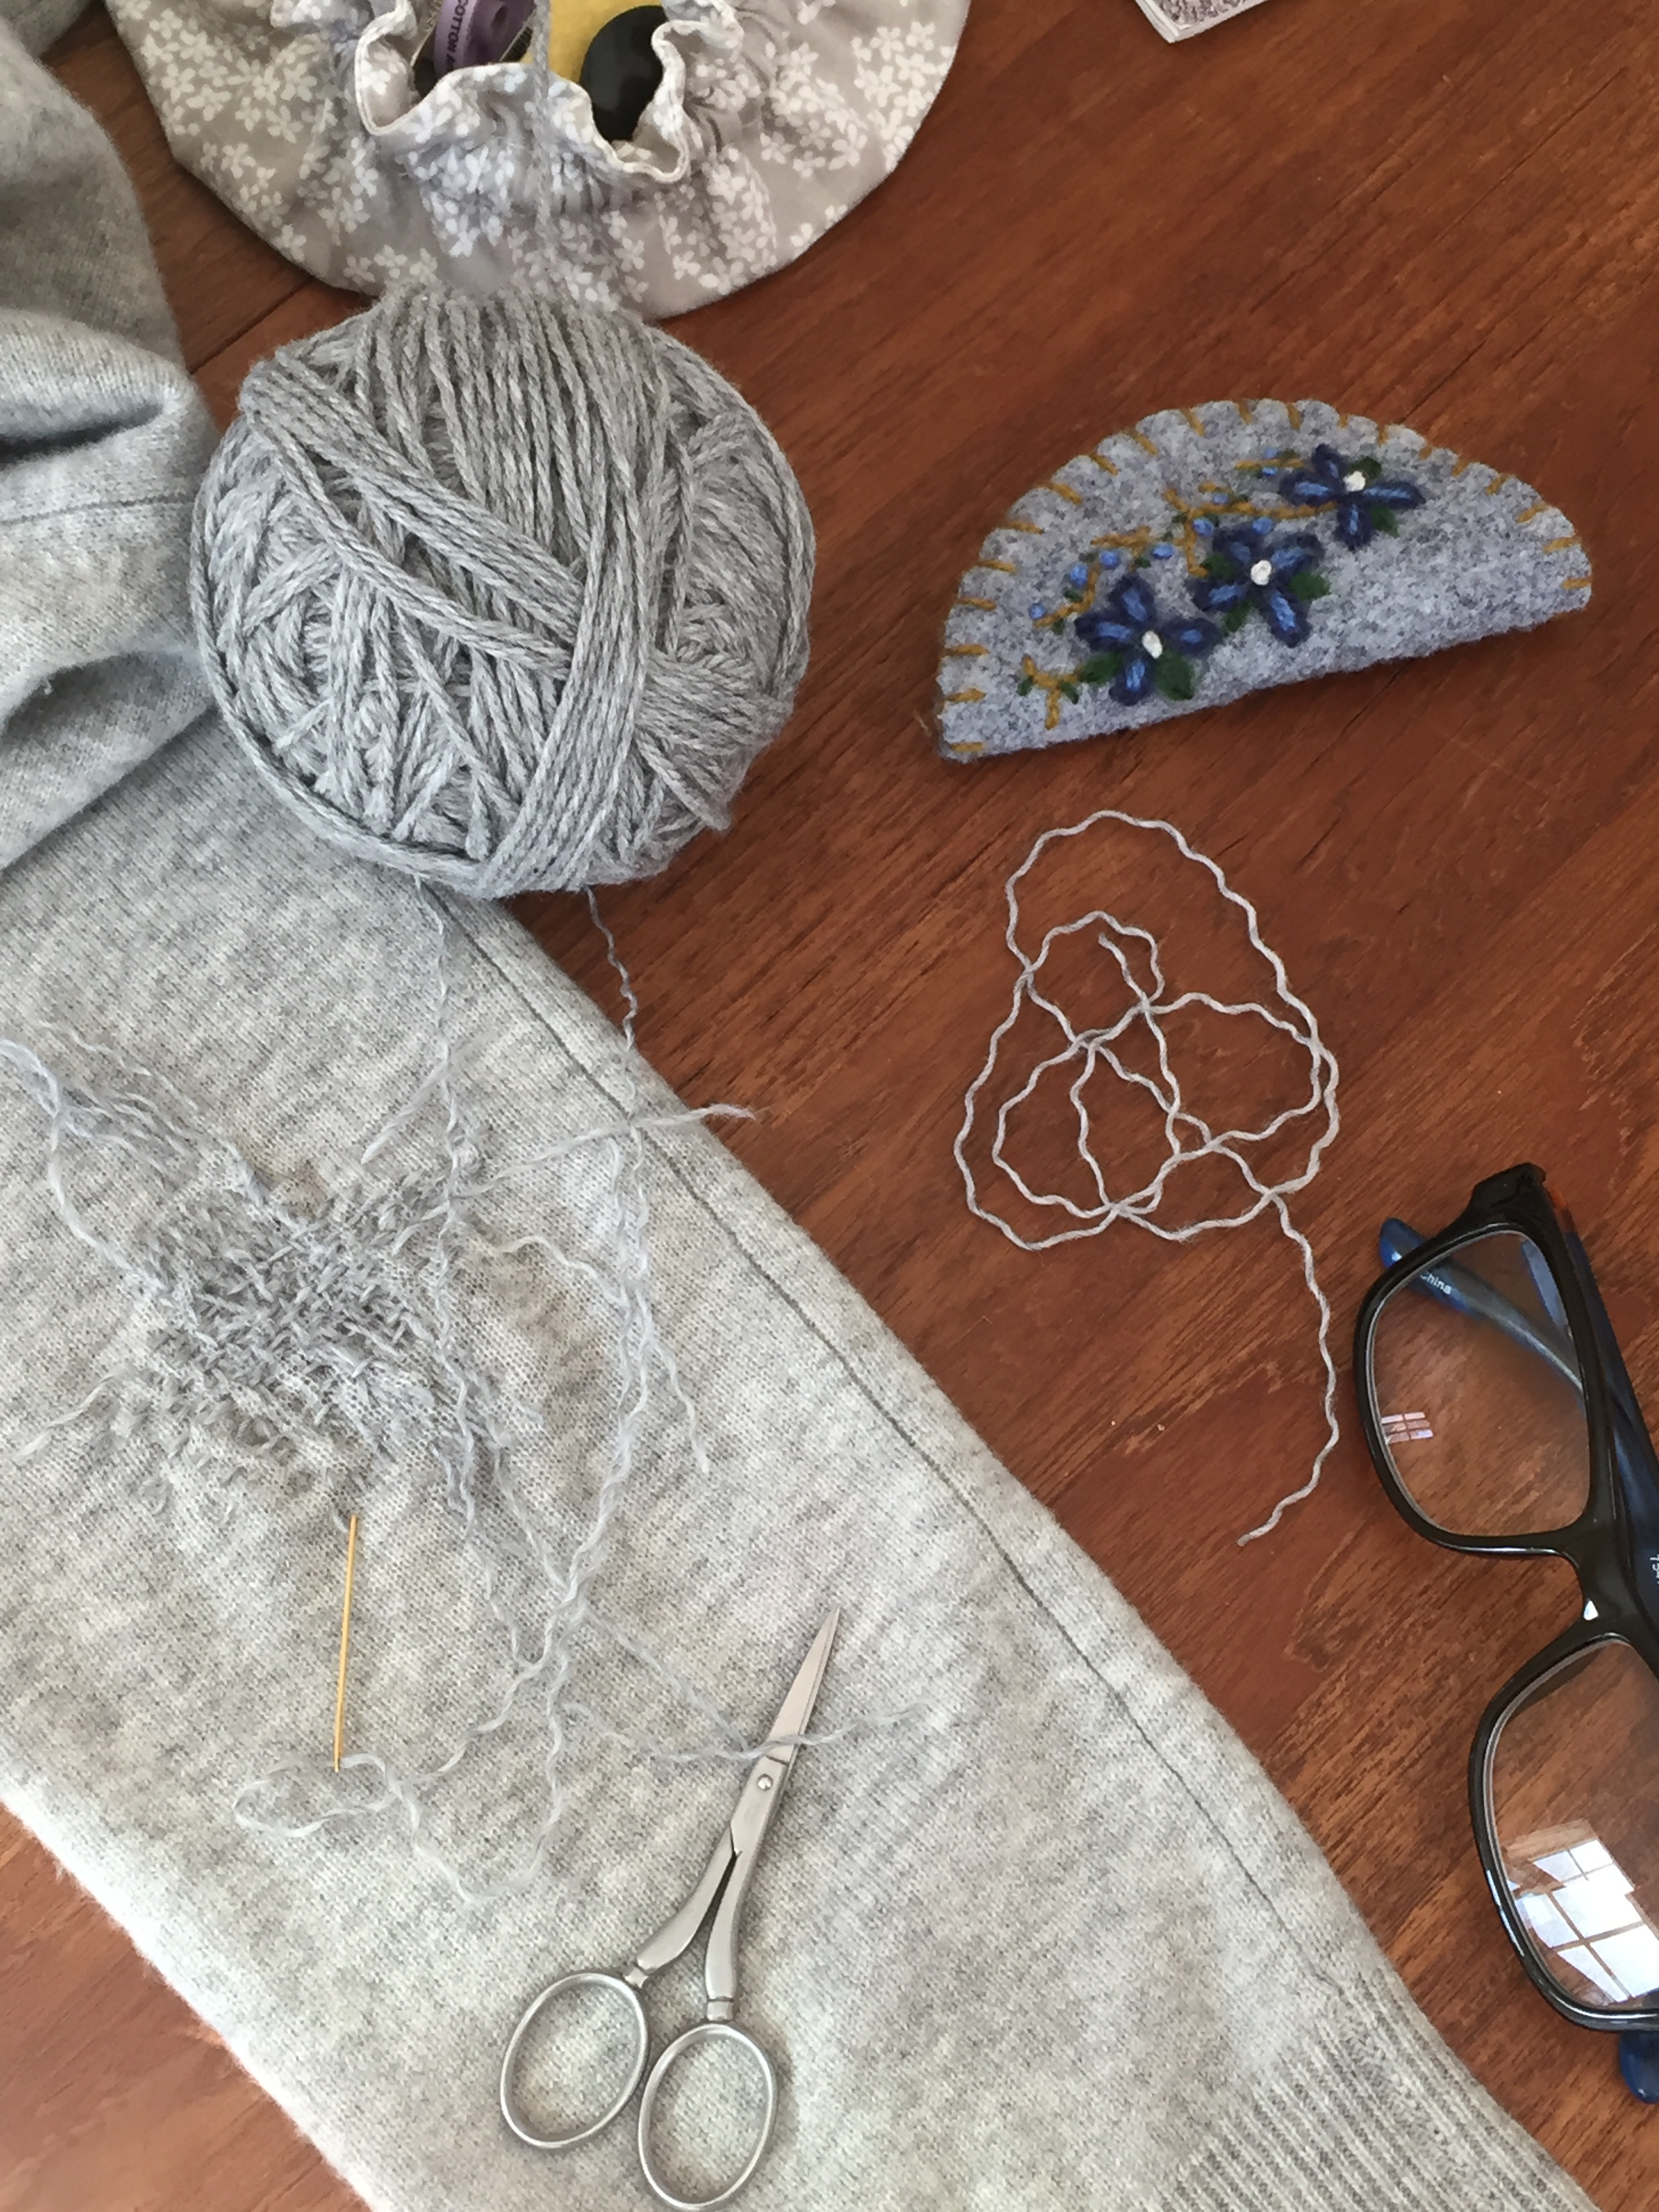
I used long lengths and pulled carefully creating a very rough looking web.
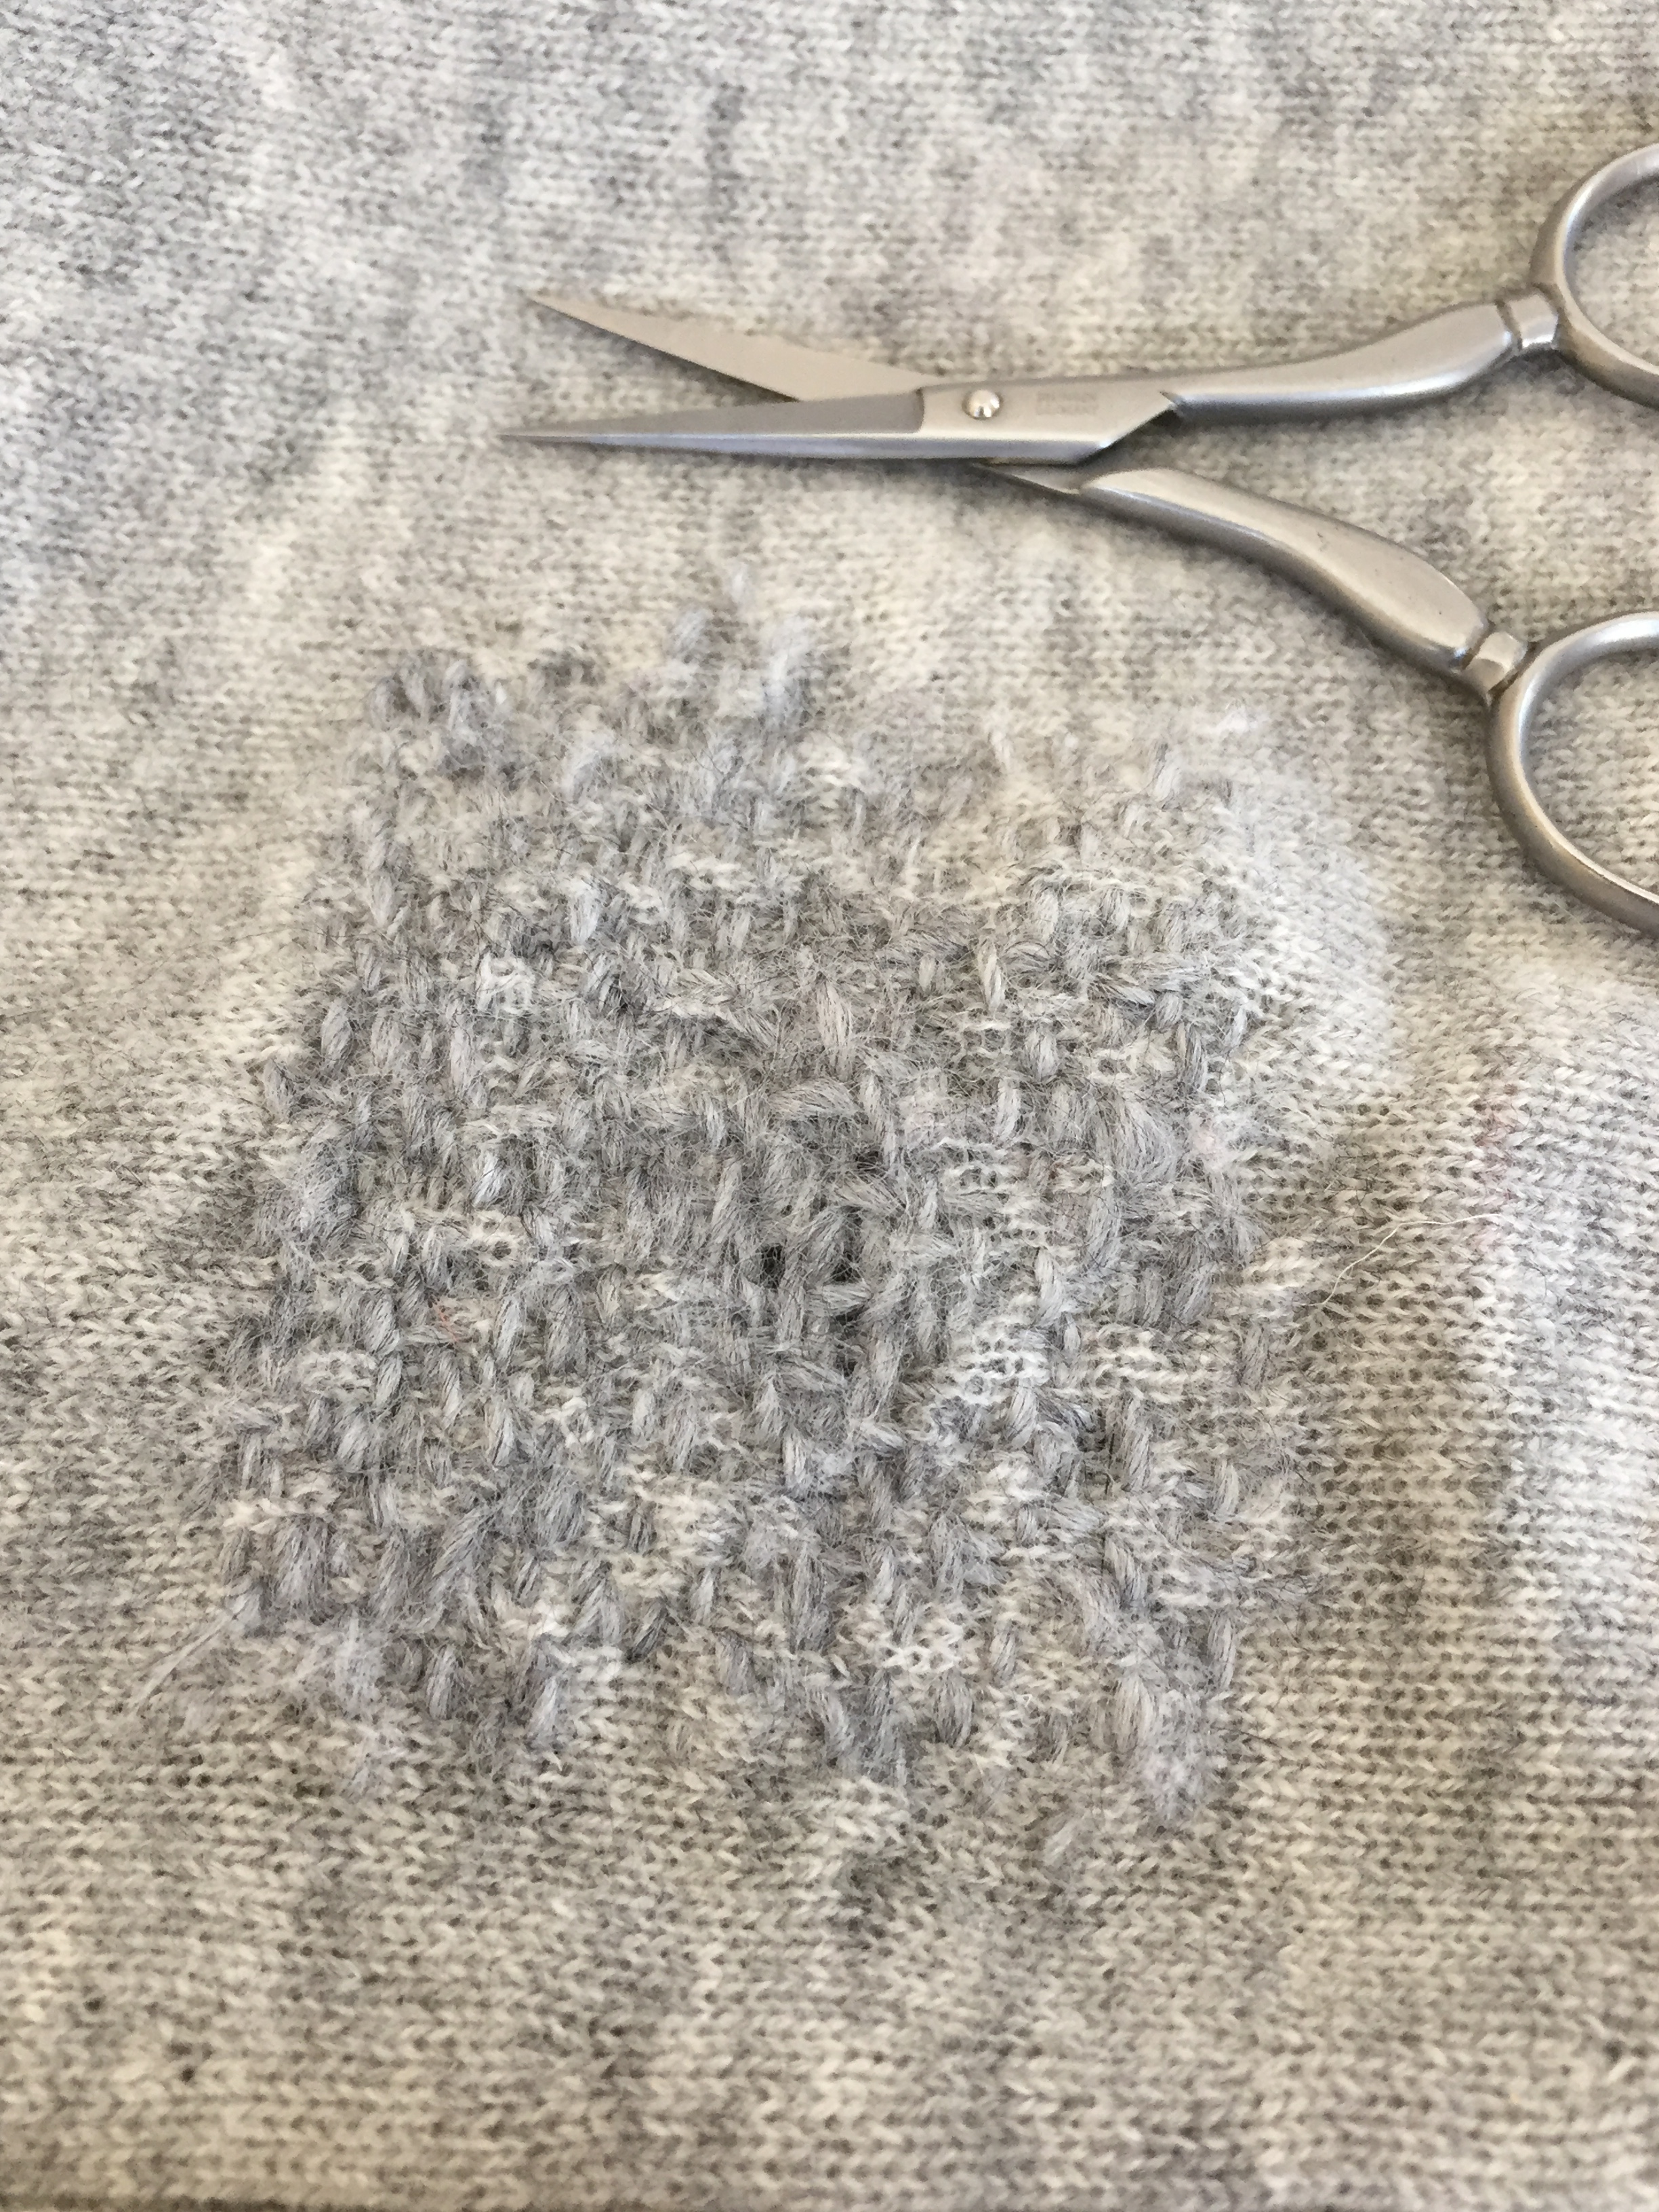
I just kept going, weaving in an out making it bigger around the edges. I don’t know if I did this a traditional way, but I do like the end result and am ready for the next worn out sweater.
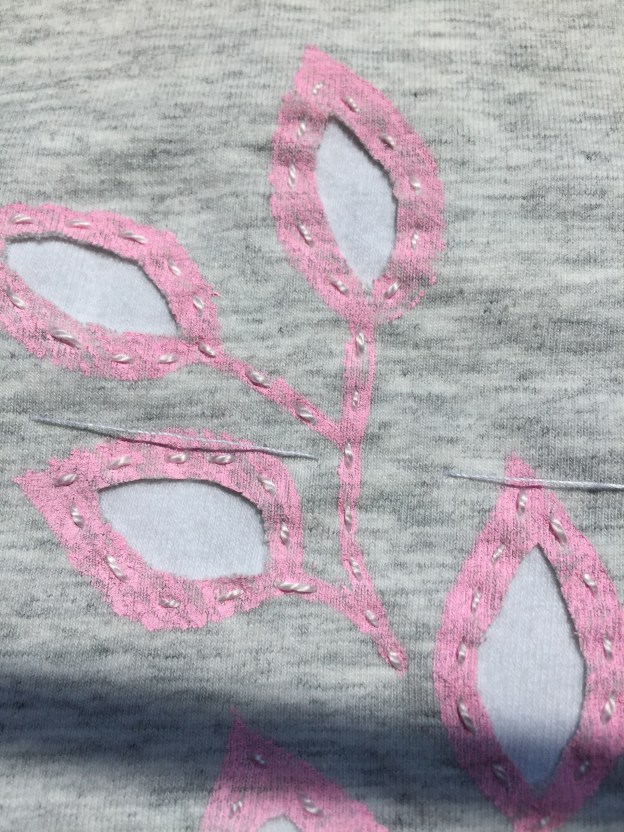
I’ve been reading about Natalie Chanin and her beautiful line of clothing made with her hand appliquéd cotton knit fabric.
See her story at alabamachanin.com
I’ve started with two layers of fabric cut from two t-shirts, one white and one gray. I mixed up some pink paint and block printed the leaves onto the top gray fabric and then basted the layers together.
Using #8 perle cotton I basted around the prints just inside the edges through both layers. Then I went back and cut out the centers of the stitched leaves.
I think that her method for constructing clothing is to cut out the pattern pieces, work the stitching on them and then sew the garment together.
This is my first attempt and I have no plans for it, but I think I will be making something to wear eventually. I love to have lap work I can bring around with me and this is perfect.

Inside the Spring 2013 issue of STITCH magazine by Interweave Press I found this pattern for “Sweet Rain Jacket” designed by Katrin Vorbeck
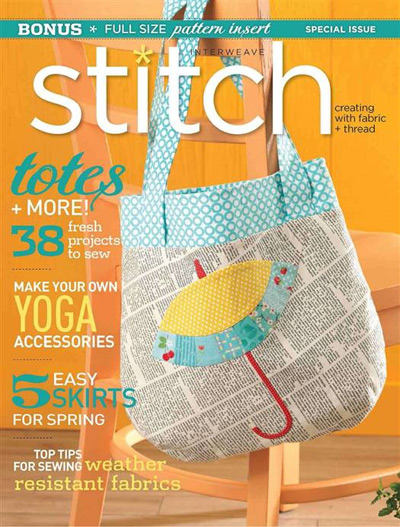
There was download link http://www.interweavestore.com/stitch-spring-2013 so I printed it out. Many pages. I organized them, taped them together, chose my size and cut out the pattern pieces. All of that took almost as long as making the garments! And it was well worth it. I am about to start a third project with this cool pattern.


Here is the first garment I made. It is a spring coat, not a raincoat. It is a beautiful woven fabric from my stash about the weight of light denim, same on both sides, 100% cotton. I used large black snaps and embellished it with a running stitch using dark red Perle cotton size 5 “Old Brick” from Valdani.com . I didn’t line the hood so I used vintage cotton grosgrain ribbon to conceal the serger stitches along the inside hem of the hood.


Then I took down some lovely flimsy old linen from France that I was using as a curtain for my closet. I used the faggoted edge as the hem of this dress and made it floor length. I found some tiny mother of pearl buttons in my great grandmother’s stash. The buttons were so small I didn’t want to spoil the look making either machine or hand made buttonholes so I simply sewed them on and they are decorative only.
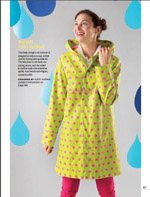
Instead of a big box pleat I gathered the fabric around the empire waist. I lined the hood to give it more umph and I do like the way it looks all drapey down the back. Wispy as a nightie, a beach cover up or a pretty party dress- I really love how this came together.
Yesterday I found a tutorial via Abby Glassenberg’s newsletter whileshenaps.com posted February 10, 2016. The tutorial is found here flossieteacakes.blogspot.com by Florence. Abby mentioned that Jodi of Sewfearless.com was making them.
Now I can’t stop making them.
Materials and Tools
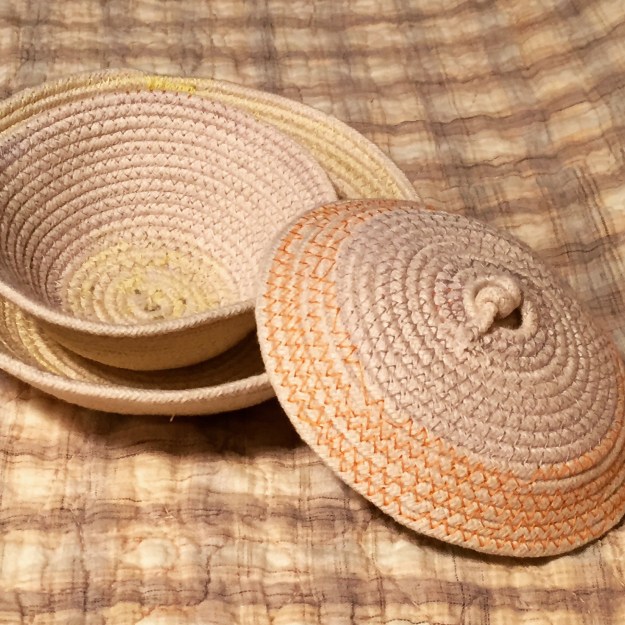
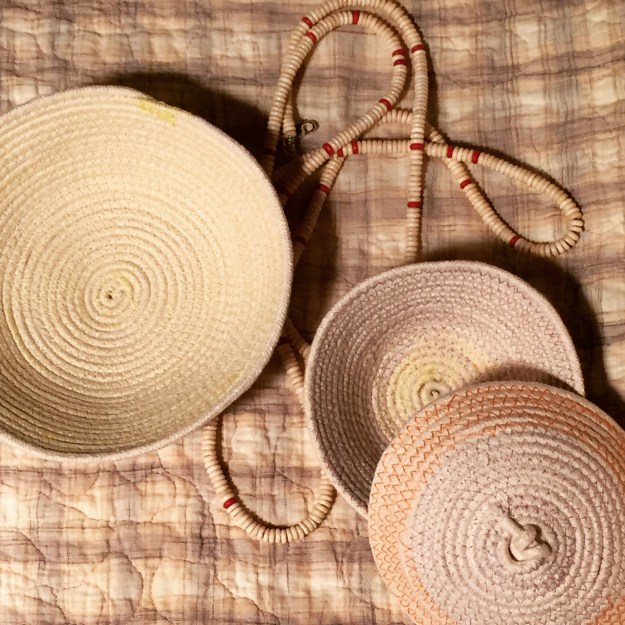
Start by making a tight coil and turning it a few times. Clip or pin it in place and sew a few straight stitches over it jamming it together so it won’t separate and being careful not to sew over pins or clips. Then start zig zagging (set to widest width) around the center catching both sides of the ditch. Keep the rope flat with the feed off to the right side and down your lap. While pushing the coil towards itself and turning tightly as you go start out stitching very slowly. Lift the presser foot if you need to help it along. It’s tricky at first and then gets easier as the circles get bigger. Changing colors of threads in both bobbin and top will add interest to the bowl. When the circle is about 4-6 inches in diameter start tipping up the left side towards the machine. This will make it curl into a bowl- magic!
When it’s big enough or you are going to run out of rope- finish by laying the cord down on the outside and sewing it down about an inch. Trim it off. It will fray and you can leave it that way or hide it by trimming or glueing. The tutorial will show ways of making handles, too.
To make a lid sew another flat circle until it’s about the right diameter to match the bowl. If you leave an inch or two free at the beginning you can then go back at the end and tie it into a knot to make a knob. By gently fiddling with the flat piece you can work it into a curved shape so the lid will balance nicely on the bowl.
Thanks to Abby, Florence and Jodi. You can see Jodi’s work here sewfearless.com and Florence’s terrific tutorial here flossieteacakes.blogspot.com. Many thanks also to Abby Glassenberg who writes the wonderful newsletter Whileshenaps.com
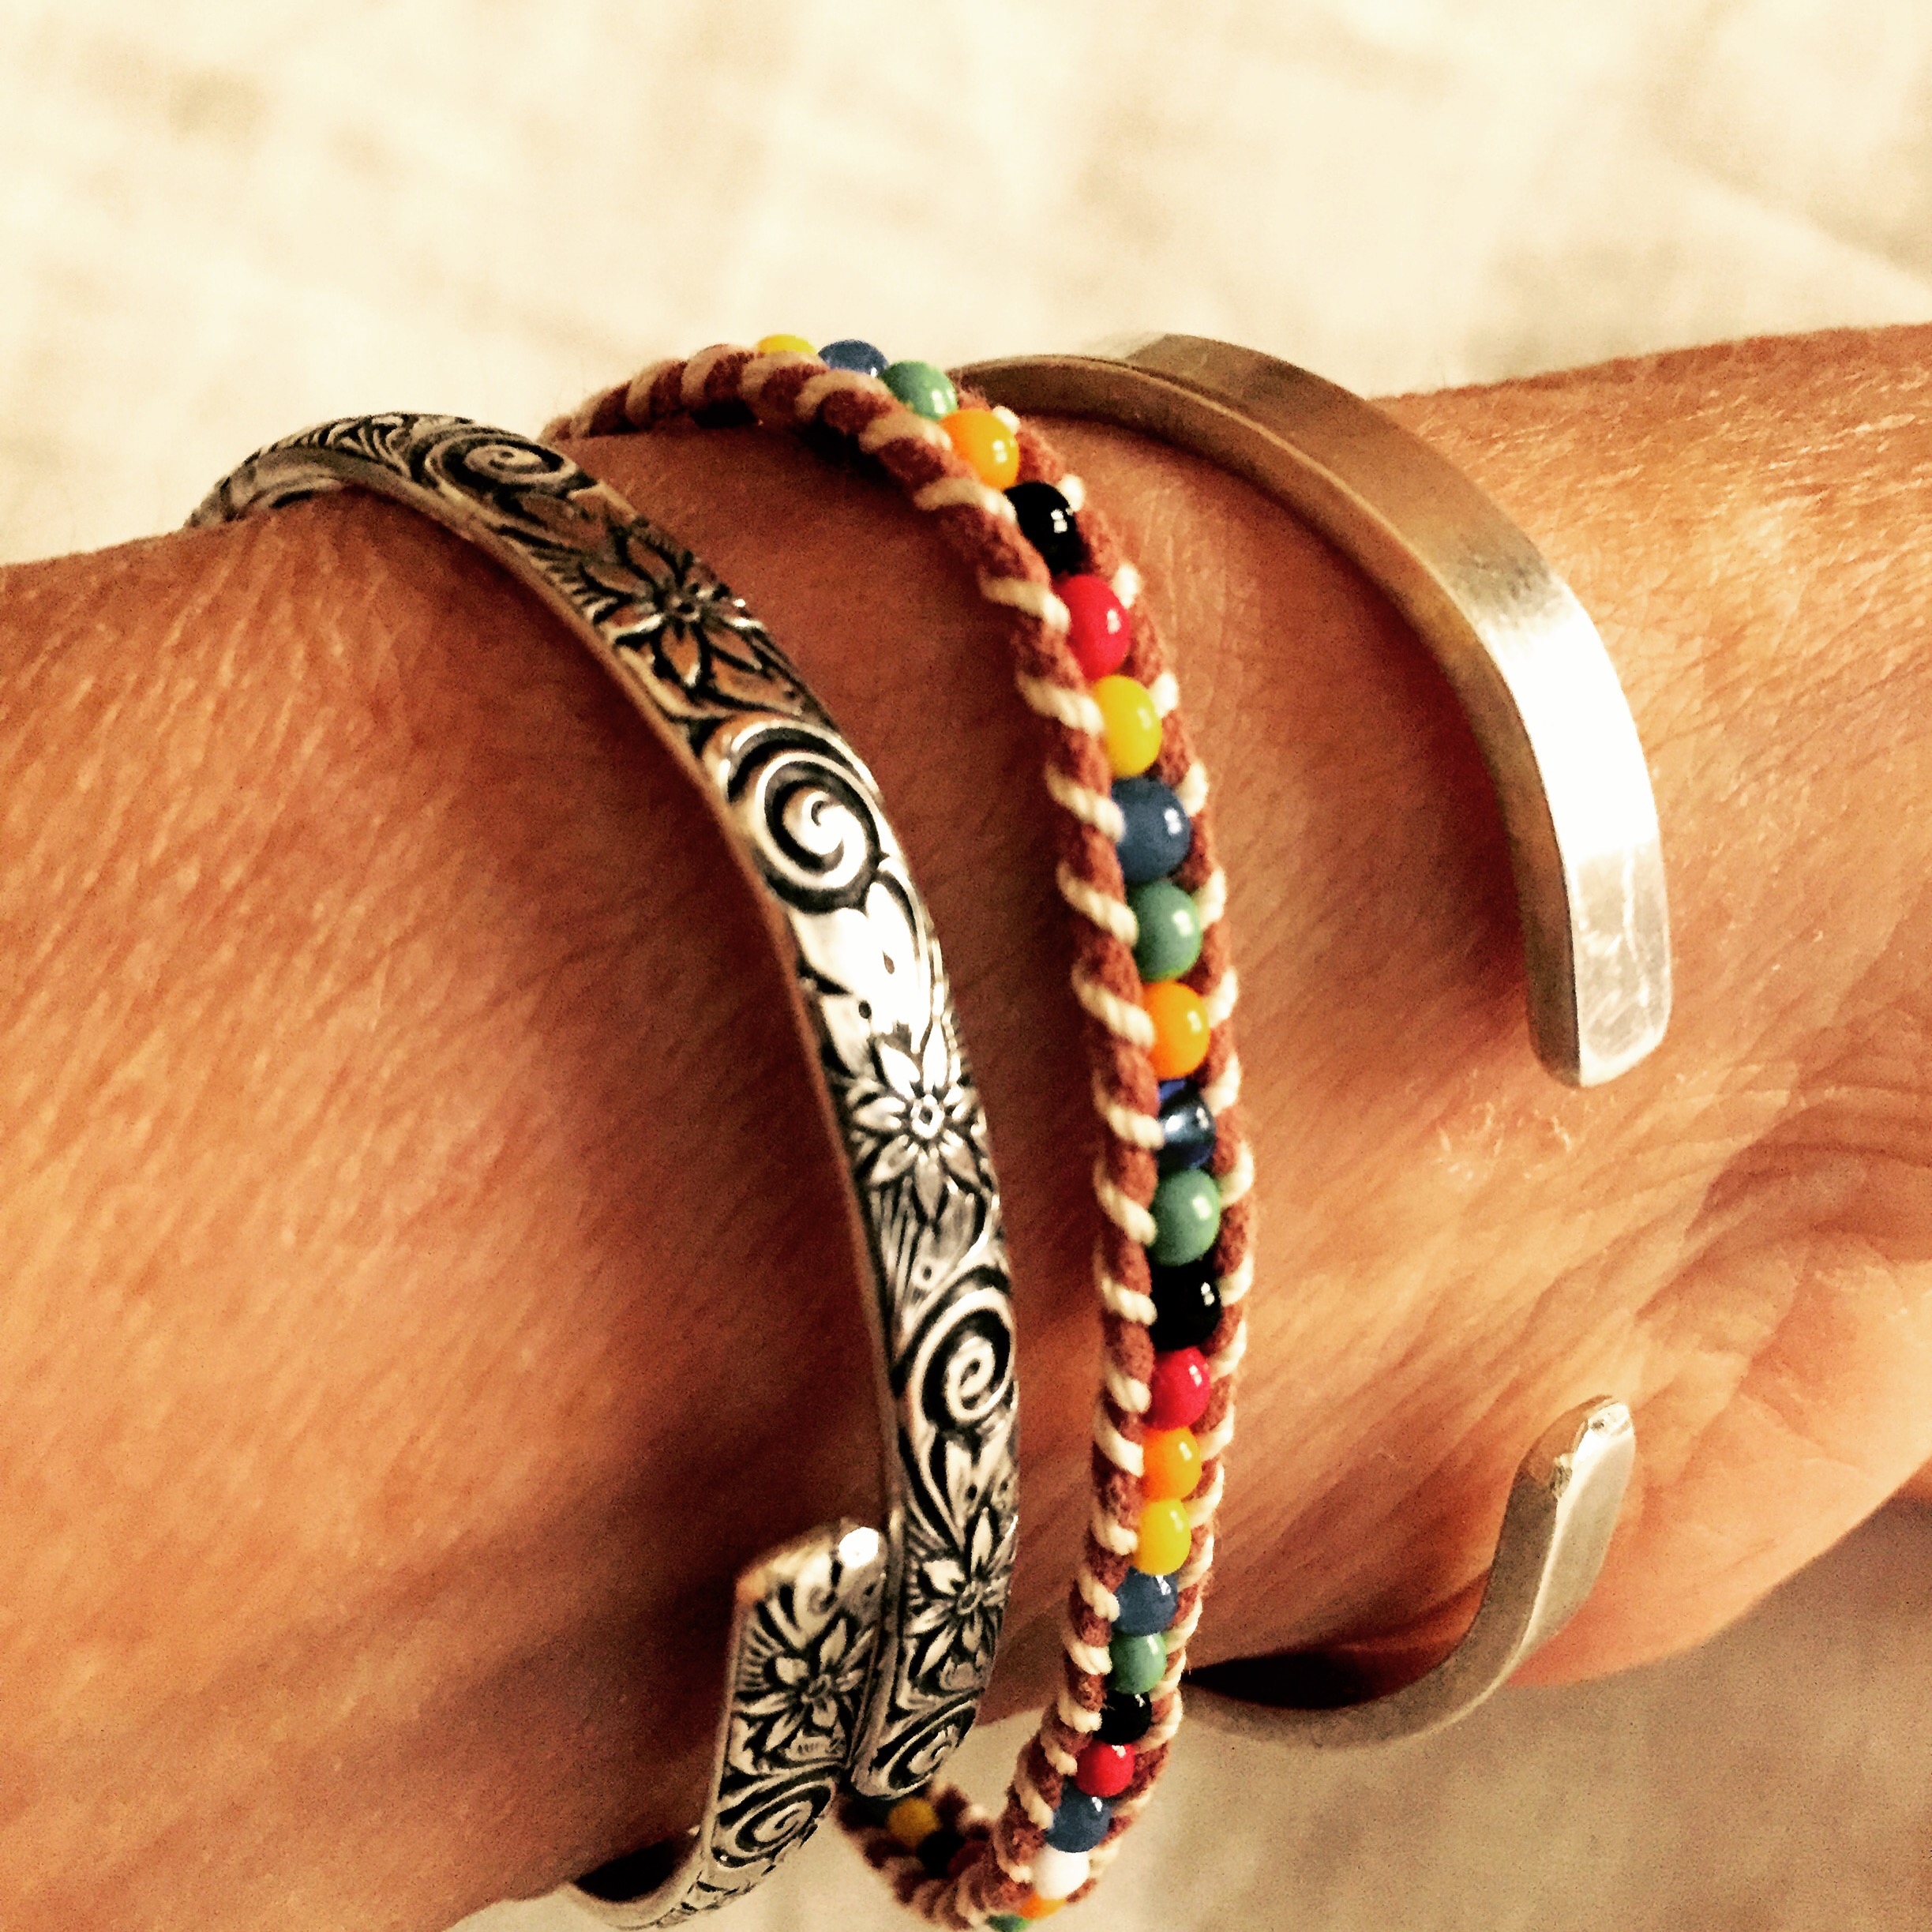
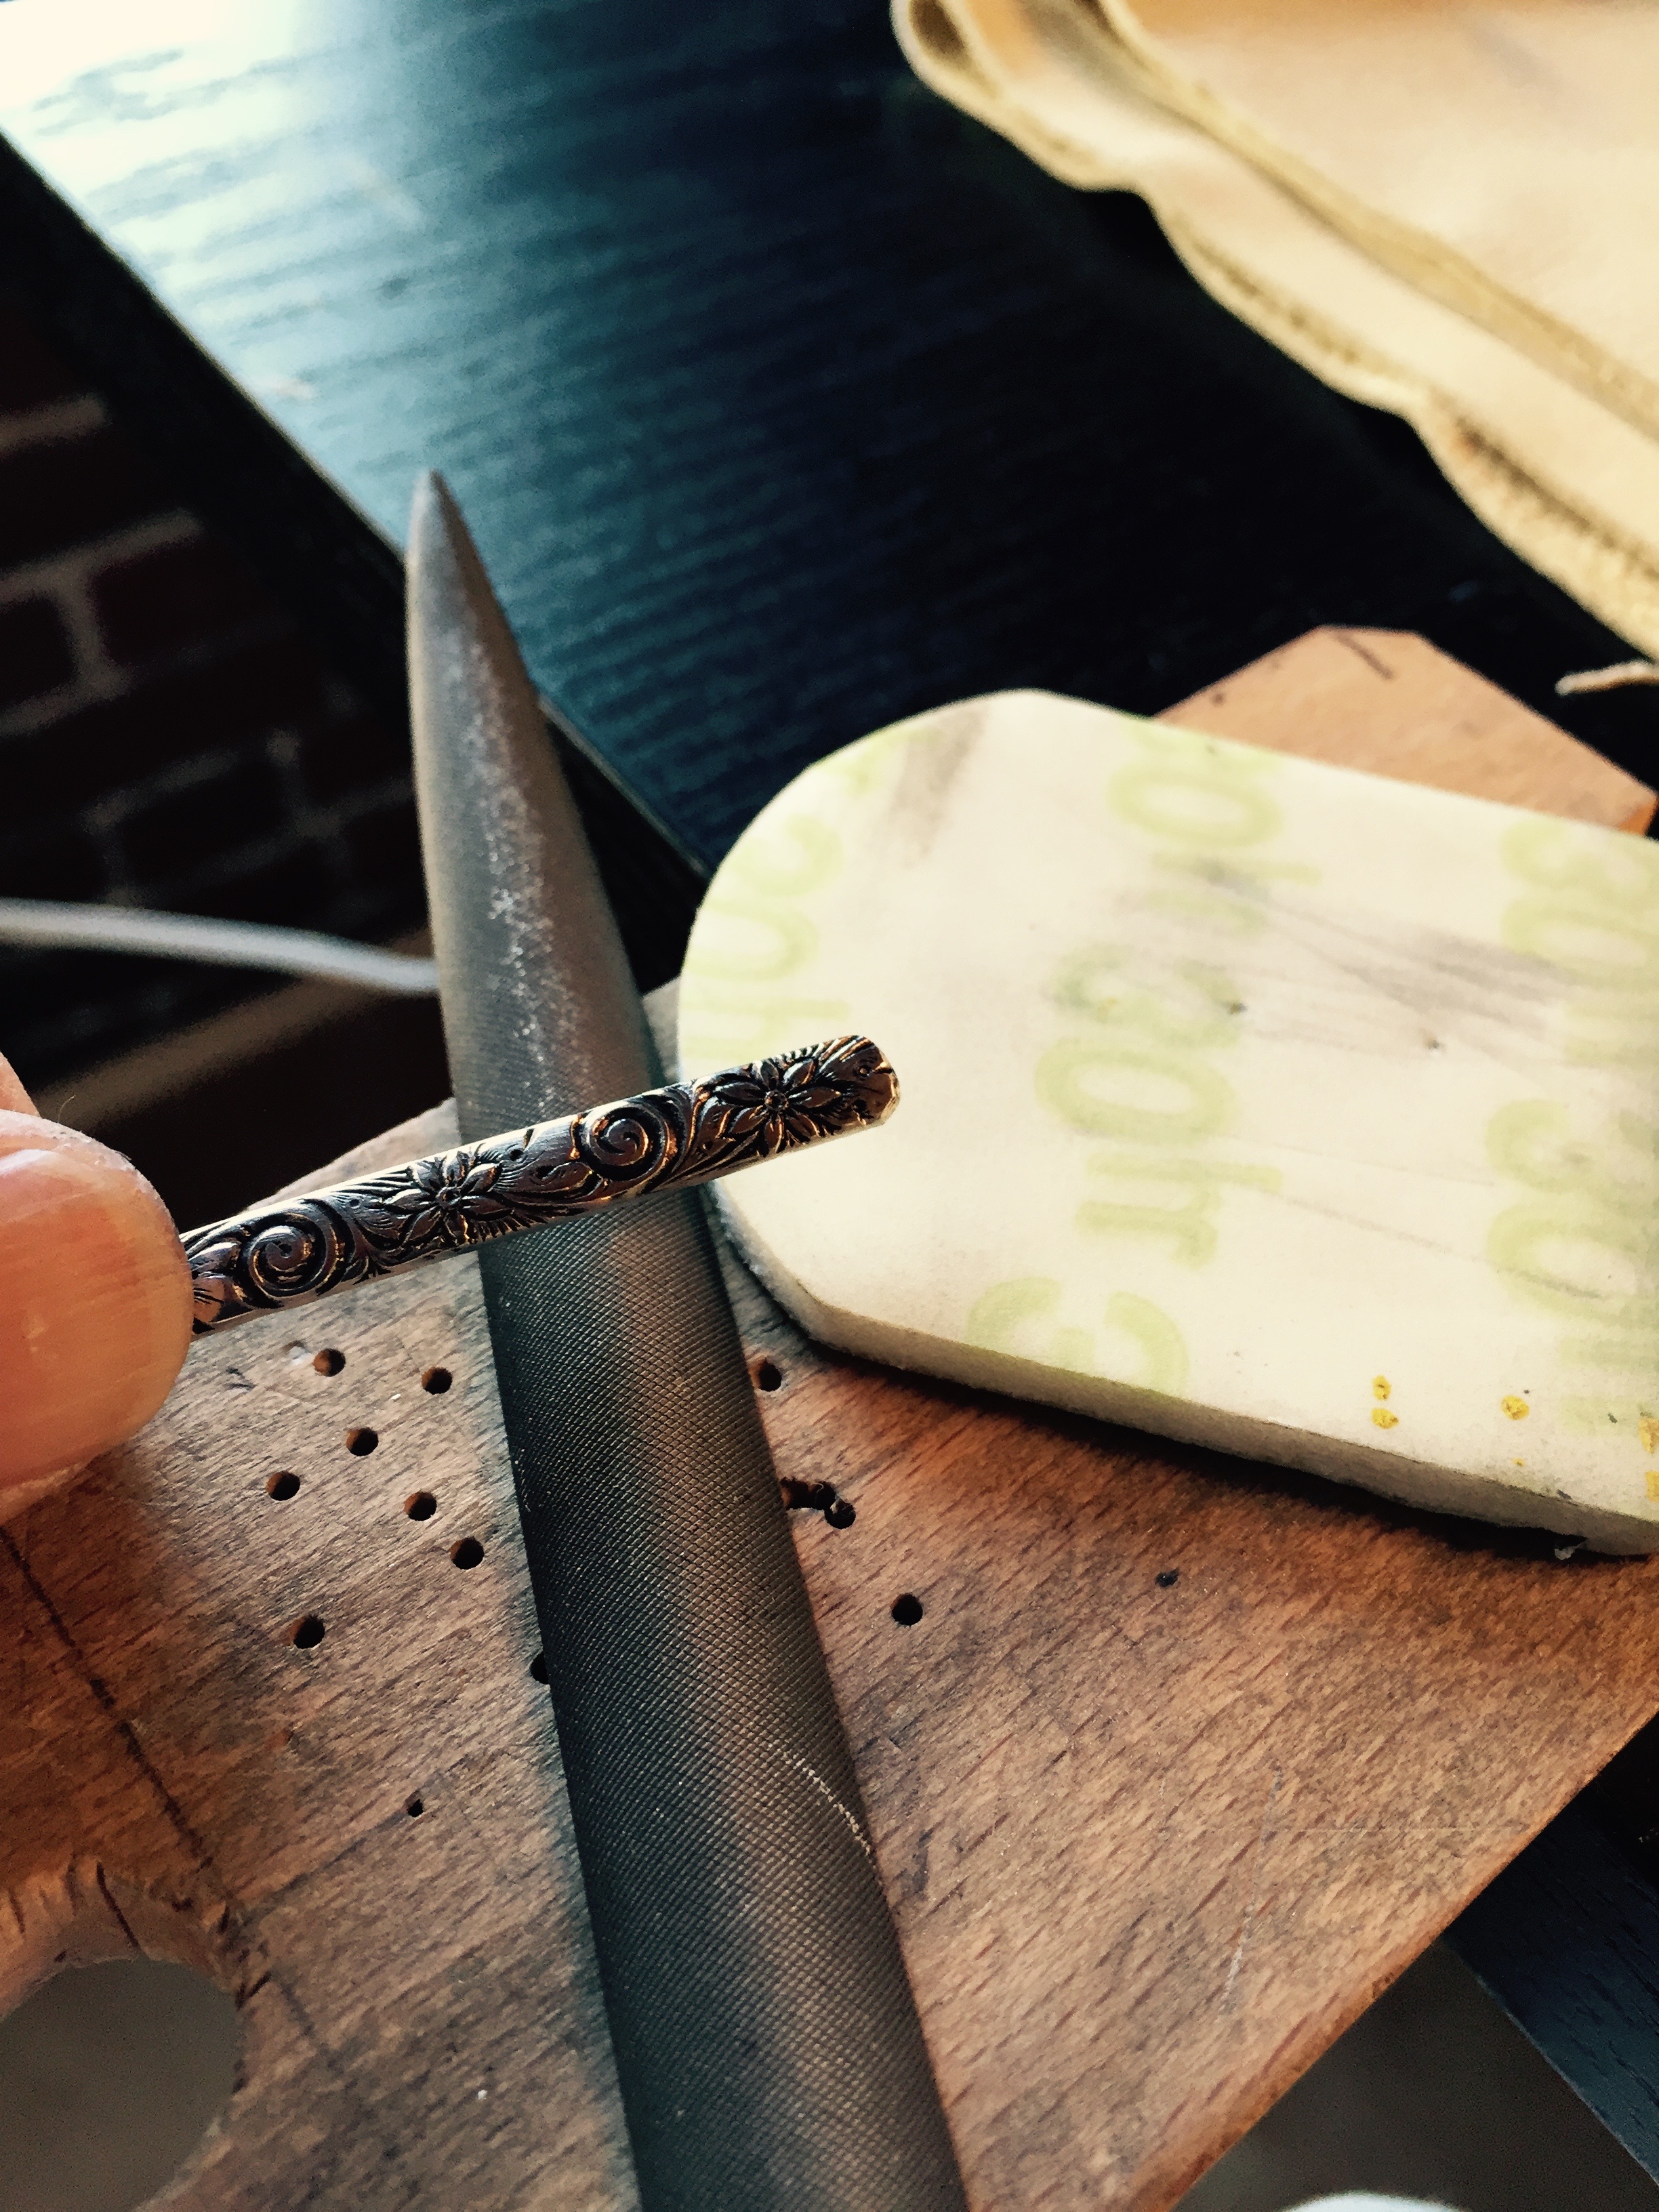
I made these silver bangles recently. My wrist measures about 5 1/2″ around. The plain one is 6 1/4″ and the patterned one is 7″ long. I filed the ends and rounded them a bit first.
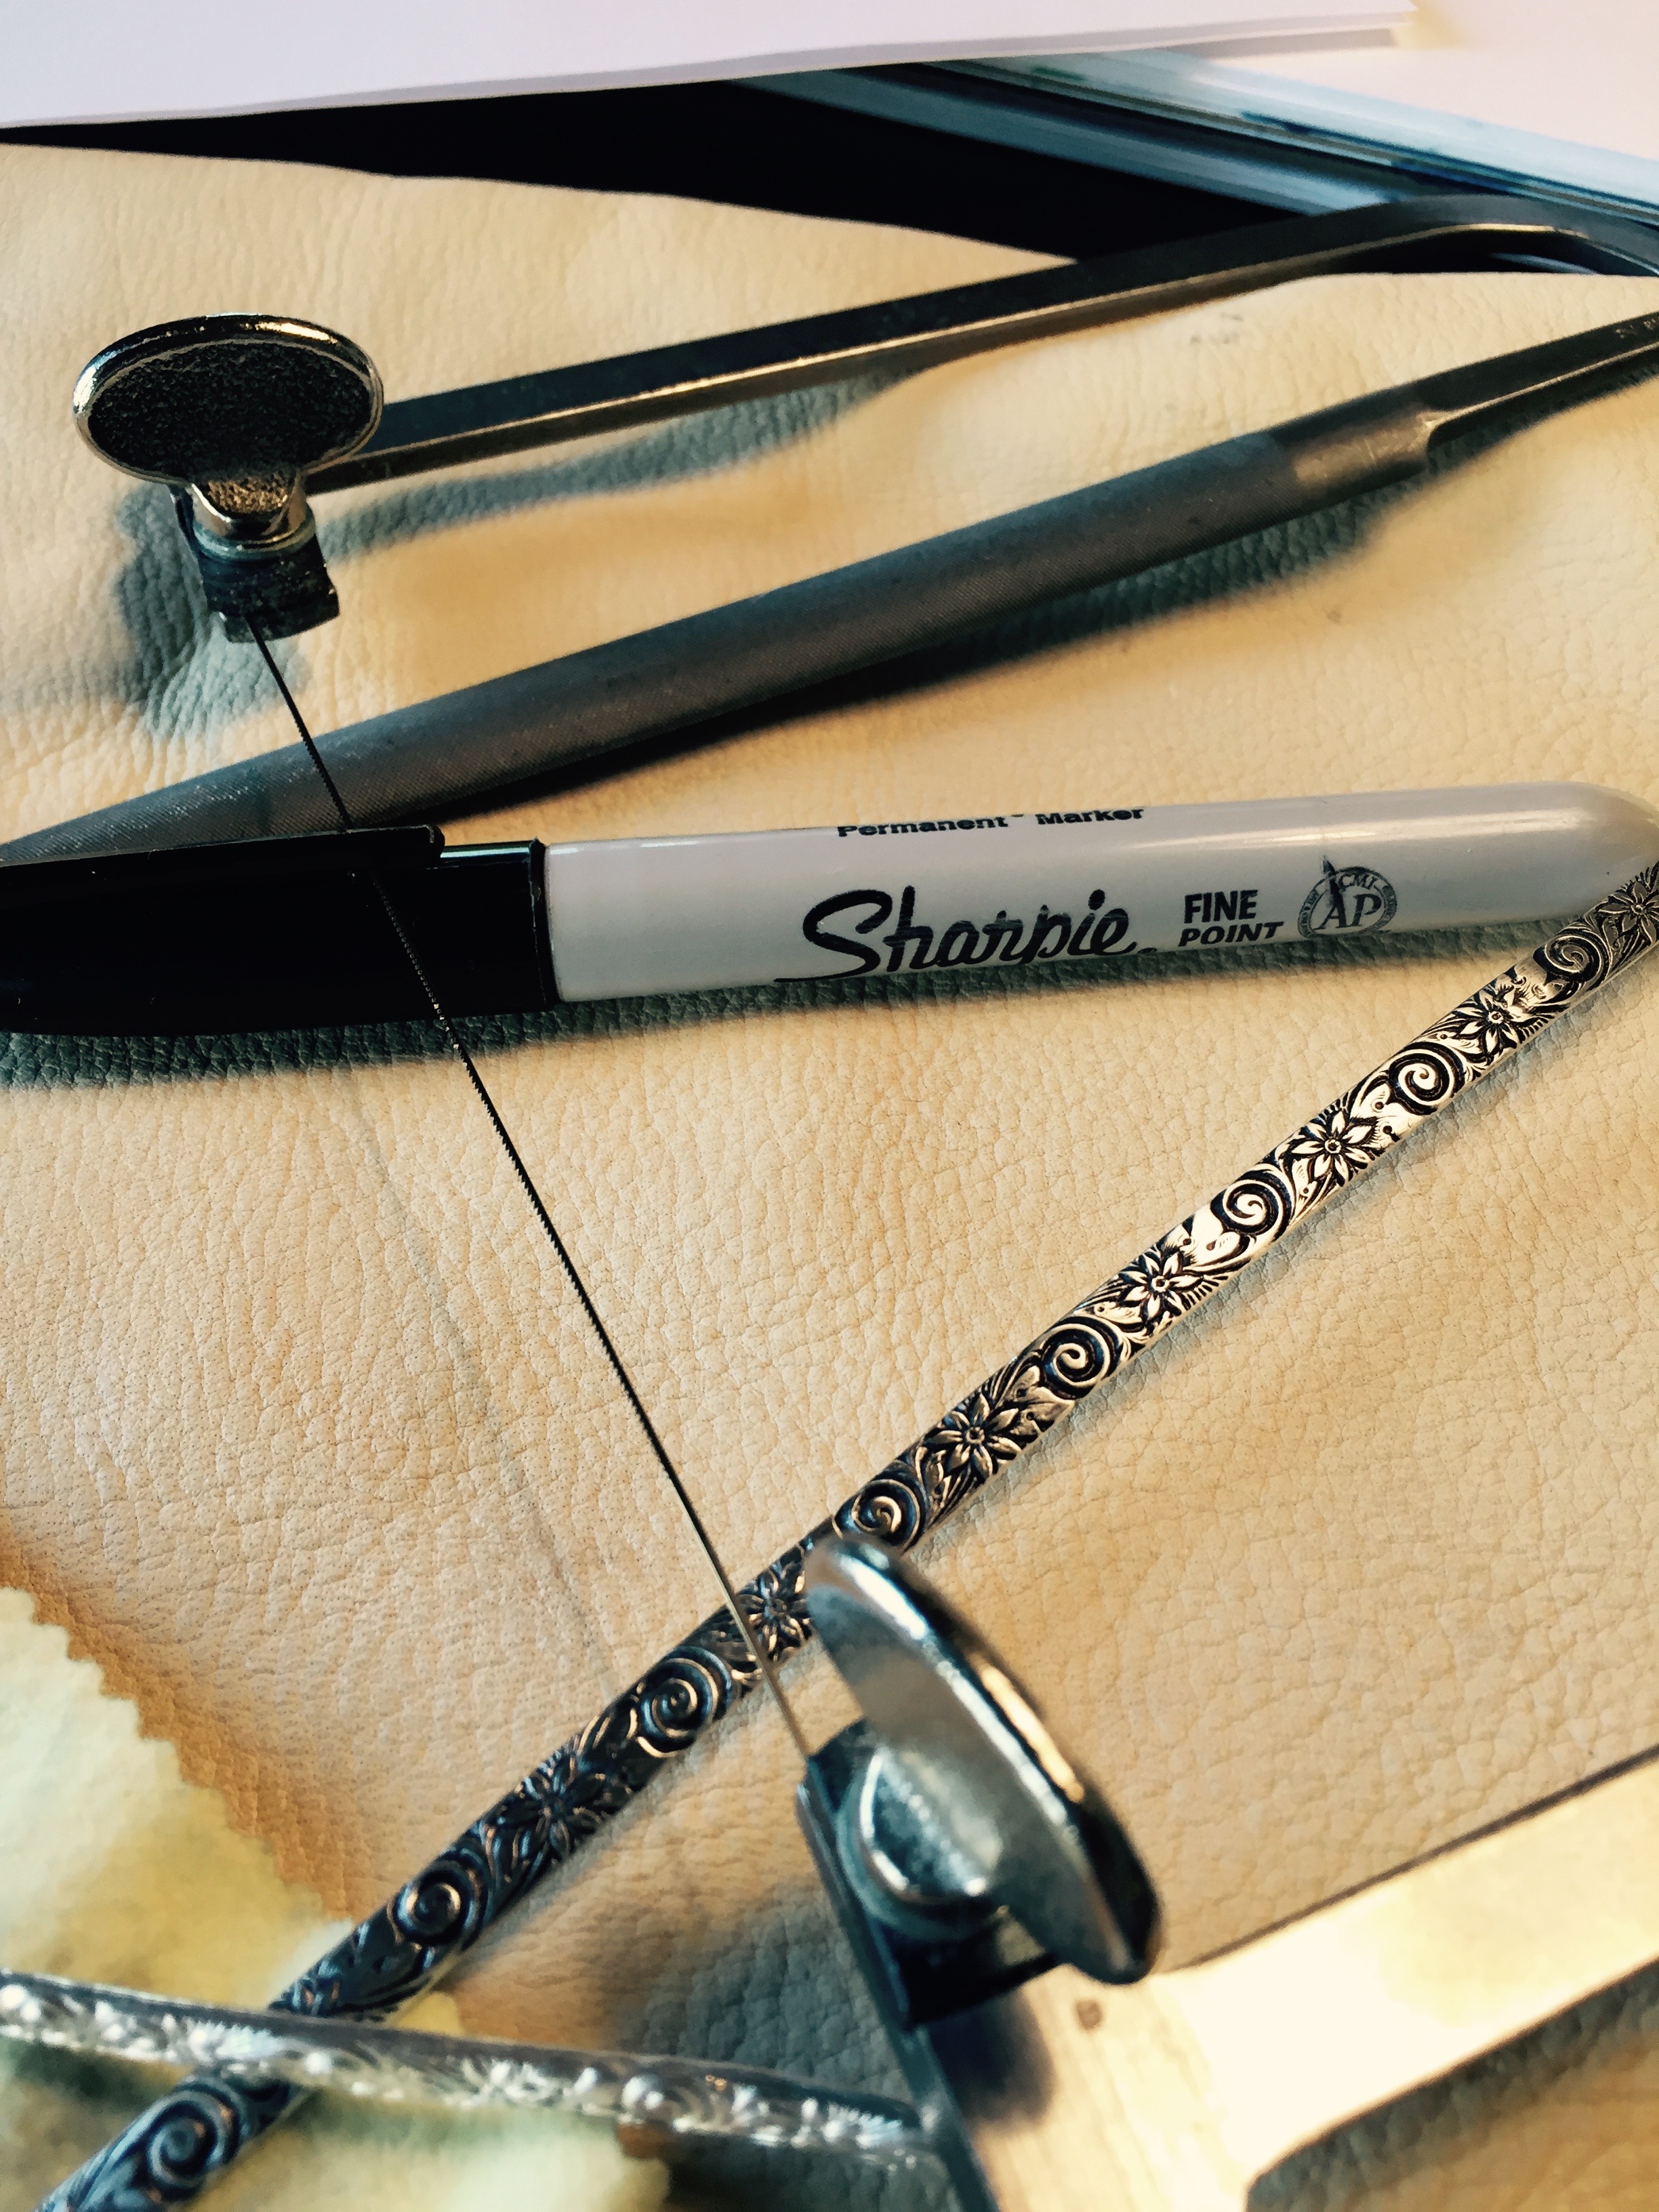
Then I rubbed a black Sharpie pen into the patterned one. In a class you would be advised to darken your silver with Liver of Sulphur to form the patina. This effect can also be achieved by putting the silver in a closed container with the yolk of a hard boiled egg. Both ways smell bad. I use the Sharpie and then rub the piece clean with very light jeweler’s sandpaper. When it’s cleaned off and the markings are black I polish it with a buffing cloth to get any scratches off.


To shape them I used two dowels, gently curving them around a bit at a time keeping both ends even. The first dowel was 1 1/4″ in diameter and the smaller one 3/4″. Then I fiddled with the ends a bit using my plastic coated pliers. I made them so I could slip them on my wrist sideways and then I squeezed them till I liked the way they fit.
It’s best to bend and curve the silver very carefully. If the bracelet becomes distorted it is very hard to correct the mistake.
I order my supplies from riogrande.com
The plain bracelet is “Wire SS Flattened Plain” item #101515 and the other is “Pattern Wire SS” item #102119. SS means sterling silver.
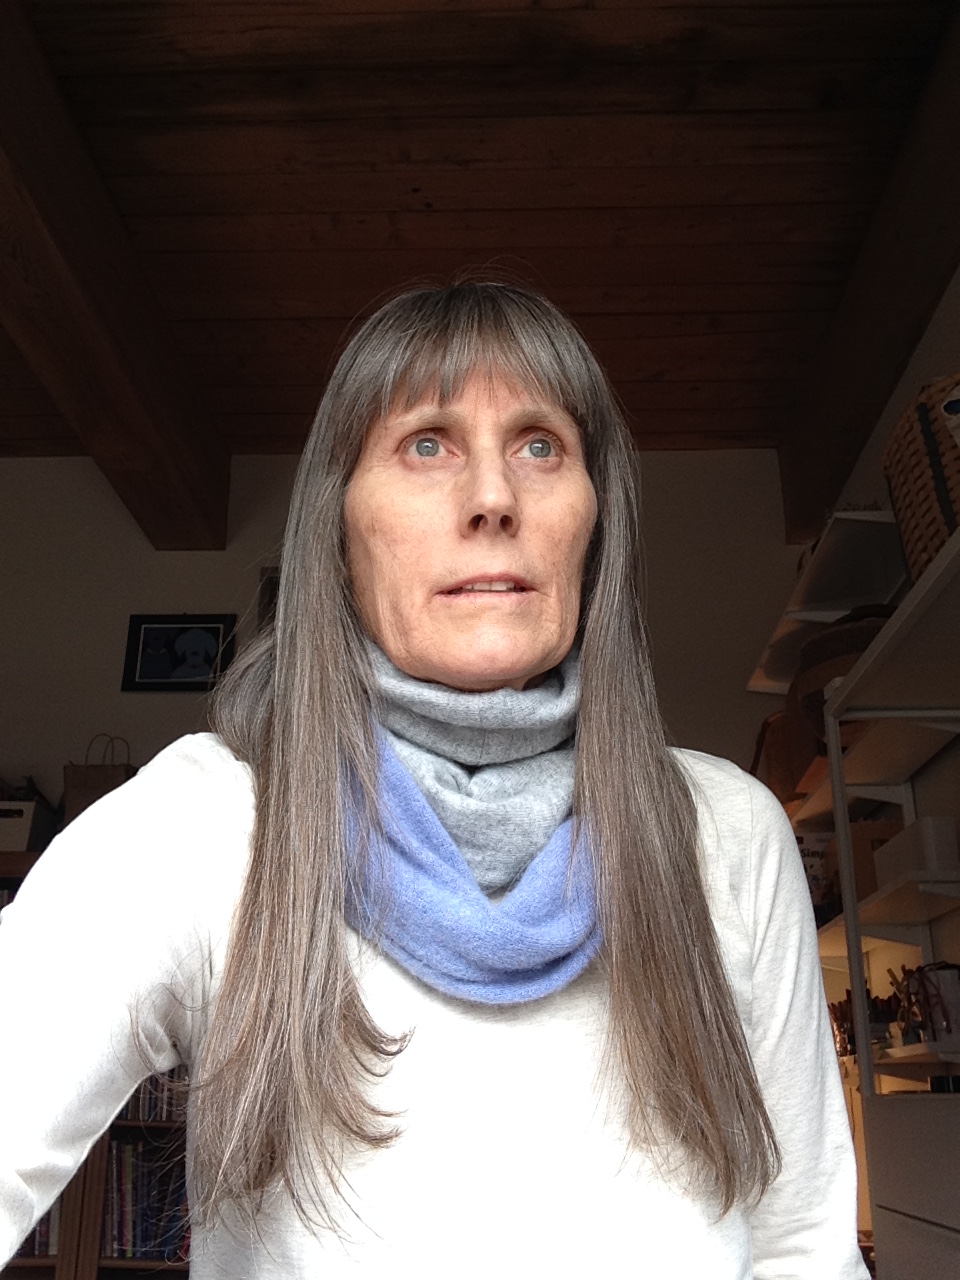
The soft cashmere scarves I’ve been making are incredibly soft and warm as toast. The gray and blue one is an Infinity style. That means that it’s stitched together at the ends. To wear it just loop it over and around your neck till it feels just right.
The camel colored ones are from a fabulous thrift shop find- a long cashmere skirt with tags still on! A score at $30 at Plum here in Beverly, MA. I decided to add trim to the ends of these and then whip stitch them closed. The trim adds a bit of body and so they lie flat against my chest. A good look I think.
Hunting for cashmere on eBay and in thrift shops has become a favorite sport for me this winter.
What should I do with the scraps leftover?
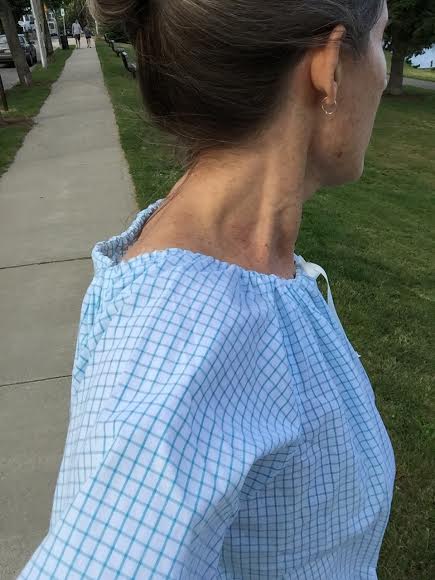
The other day I saw a how to video that I really liked. It showed me how to transform a man’s button down shirt into a peasant blouse. So I went out and bought some shirts on sale and from the thrift shop. I cut around the top, serged the edge and folded over about a half inch tunnel. I then threaded in ribbon and gathered it up.
I did realize that you must use Large or even X-Large shirts because the sleeves pull up so much and will be too tight in the armpits. You can make them short-sleeved, but wait till the end. I also cut the tails off to make the hem. You could leave them to tie in a knot or hem the bottom and put in elastic or ribbon so it’s adjustable. You could use elastic in the sleeves, too. So many possibilities!


Buying secondhand cashmere sweaters is a hobby of mine. Ebay is a great resource and thrift shops have some great finds. A few weeks ago I found a really nice full length tan colored cashmere skirt with the tags still on (!) at Plum right here in Beverly. Plumconsignment.com

From recycled cashmere sweaters


I cut the pieces with the straight of grain running vertically. Then I sew the ends together to make the length I want. I have to make another length and then I sew them right sides together all the way down both sides to make a tube. I like to turn the scarf right side out and then serge the ends together and add decorative trim. The trim adds body which helps the ends lie flat against my body. I like to make the scarves long enough to go round my neck several times.
Hint: if you cut your lengths across the width of the sweater or skirt your pieces will curl and misbehave.
Another option is to make an Infinity Scarf.
Do everything the same way until the part where you would have added the trim. Sew by hand the ends together neatly so you have a circle. See the blue and gray one in the picture. For a more professional (read persnickety) effect leave about 4″ on one side near the end open and sew the ends together with the ends right sides together. Then turn right side out through the 4″ opening and neatly hand stitch the opening closed. This makes a continuous loop to wrap around your neck a few times.


 Live and learn. Sew and learn. A traditional kilt fits a man because his body middle is straight. That is, ideally his waist and hips are about the same circumference. I made this kilt using You Tube vids as a guide and it was pretty straightforward. Yes, straight as in straight with no curves or darts to accommodate my curves. A woman’s waist, ideally, is a very different circumference to that of her hips. So the kilt came out perfectly. For a man. I am now in the process of gently picking out the pleats (not only pressed, but topstitched) and the nice grosgrain ribbon I used to bind the waistband. The next step will be to fit it to my body by pinning, basting, trying on, grading the pleats and maybe even putting in a dart or two. I’ll post the pics when I get it right…
