Sometimes a design starts with a DOODLE.
Embroidery Doodles
Leave a reply
Sometimes a design starts with a DOODLE.
Yesterday I found a tutorial via Abby Glassenberg’s newsletter whileshenaps.com posted February 10, 2016. The tutorial is found here flossieteacakes.blogspot.com by Florence. Abby mentioned that Jodi of Sewfearless.com was making them.
Now I can’t stop making them.
Materials and Tools
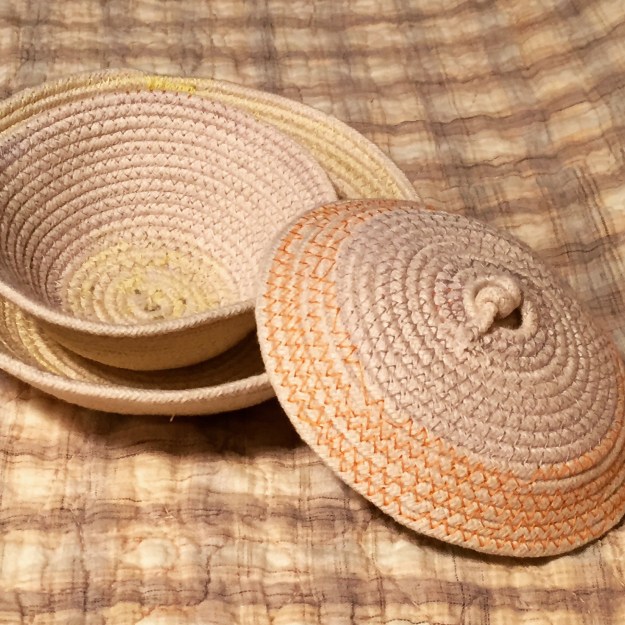
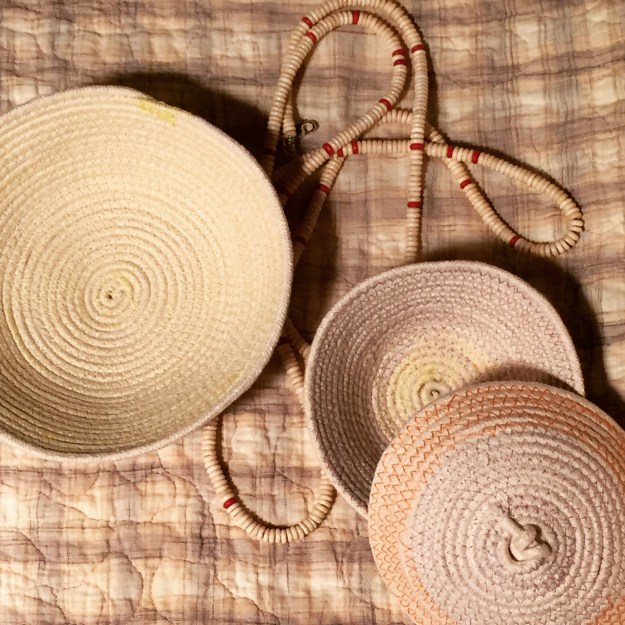
Start by making a tight coil and turning it a few times. Clip or pin it in place and sew a few straight stitches over it jamming it together so it won’t separate and being careful not to sew over pins or clips. Then start zig zagging (set to widest width) around the center catching both sides of the ditch. Keep the rope flat with the feed off to the right side and down your lap. While pushing the coil towards itself and turning tightly as you go start out stitching very slowly. Lift the presser foot if you need to help it along. It’s tricky at first and then gets easier as the circles get bigger. Changing colors of threads in both bobbin and top will add interest to the bowl. When the circle is about 4-6 inches in diameter start tipping up the left side towards the machine. This will make it curl into a bowl- magic!
When it’s big enough or you are going to run out of rope- finish by laying the cord down on the outside and sewing it down about an inch. Trim it off. It will fray and you can leave it that way or hide it by trimming or glueing. The tutorial will show ways of making handles, too.
To make a lid sew another flat circle until it’s about the right diameter to match the bowl. If you leave an inch or two free at the beginning you can then go back at the end and tie it into a knot to make a knob. By gently fiddling with the flat piece you can work it into a curved shape so the lid will balance nicely on the bowl.
Thanks to Abby, Florence and Jodi. You can see Jodi’s work here sewfearless.com and Florence’s terrific tutorial here flossieteacakes.blogspot.com. Many thanks also to Abby Glassenberg who writes the wonderful newsletter Whileshenaps.com
The soft cashmere scarves I’ve been making are incredibly soft and warm as toast. The gray and blue one is an Infinity style. That means that it’s stitched together at the ends. To wear it just loop it over and around your neck till it feels just right.
The camel colored ones are from a fabulous thrift shop find- a long cashmere skirt with tags still on! A score at $30 at Plum here in Beverly, MA. I decided to add trim to the ends of these and then whip stitch them closed. The trim adds a bit of body and so they lie flat against my chest. A good look I think.
Hunting for cashmere on eBay and in thrift shops has become a favorite sport for me this winter.
What should I do with the scraps leftover?


 Live and learn. Sew and learn. A traditional kilt fits a man because his body middle is straight. That is, ideally his waist and hips are about the same circumference. I made this kilt using You Tube vids as a guide and it was pretty straightforward. Yes, straight as in straight with no curves or darts to accommodate my curves. A woman’s waist, ideally, is a very different circumference to that of her hips. So the kilt came out perfectly. For a man. I am now in the process of gently picking out the pleats (not only pressed, but topstitched) and the nice grosgrain ribbon I used to bind the waistband. The next step will be to fit it to my body by pinning, basting, trying on, grading the pleats and maybe even putting in a dart or two. I’ll post the pics when I get it right…

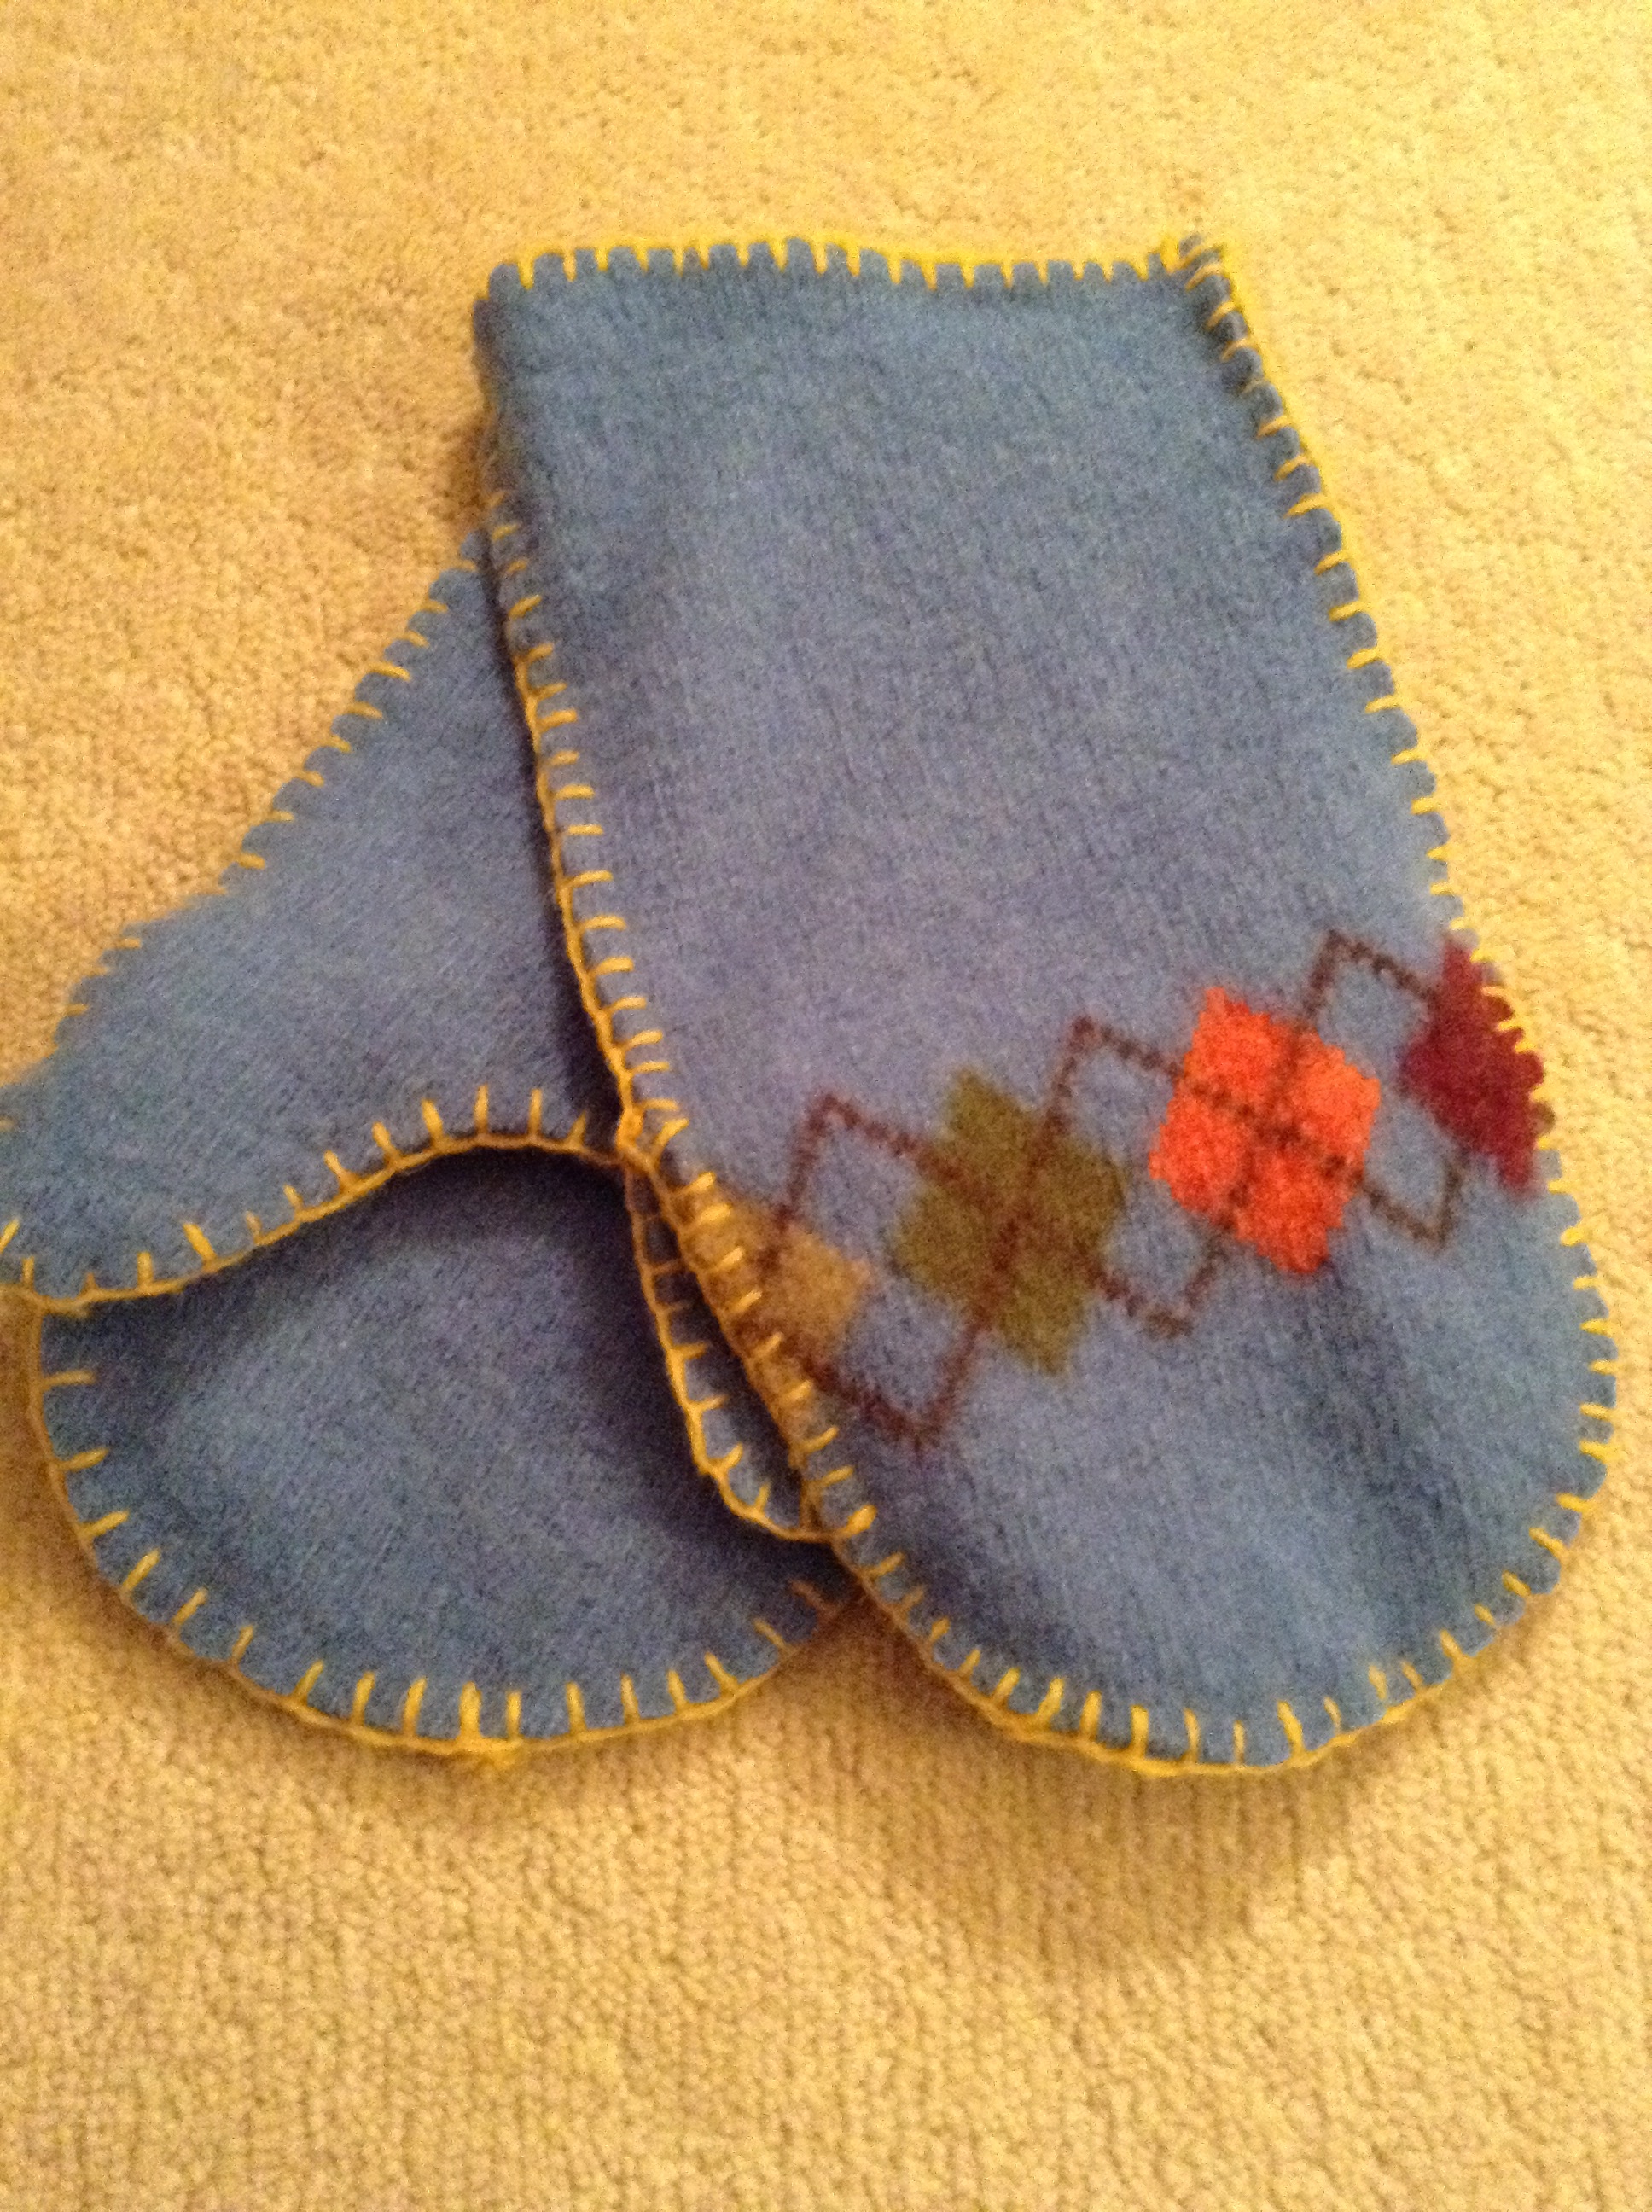
 I went to a thrift store to get some real 100% wool sweaters. The best ones were in kids’ sizes. I threw them in the washing machine on hot and then into the dryer. They fulled beautifully. * I found a mitten pattern somewhere and tweaked it till it seemed to fit me. Then this happened:


 And then this happened, too!

The striped pair has another pair inside. I made the inside pair from lightweight green cashmere so it’s really soft. I put on the green ones inside out and slipped my hands into the striped pair. The cuffs were the sweater hem. So far the blue ones are not lined. I used blanket stitch to do the whole thing- a perfect take along project!
The fingerless mitts were an afterthought. They will fit my 5 year old grandie, Angelica. See the thumbholes cut into the arm seam and then blanket stitched? I used some pretty crocheted trim for embellishment. The sweater cuff is the end that will go over her fingers.
I think I will be making a lot of these.
*For those who might not know, FULLED means knitted fabric that has been felted. FELTED actually refers to loose fleece that is manipulated until it felts. This is a technical point and you can get away with calling fulled wool felted and no one will care except those of us who are a bit persnickety.

TO SHRED OR TO MEND- ROGUE KNITTING
Antony Hegarty wore a shredded sweater in the Leonard Cohen documentary, “I’m Your Man”. He was singing “If It Be Your Will”. The sweater is horribly beautiful. Does that make sense to anyone else?
I found this image on Google today:

It is featured on a site called imbossy.com
Check out this cool tutorial: http://blog.boatpeopleboutique.com/projects/destroy-diy-shredded-sweater
I read today about an interesting class at a London’s Ray-Stitch haberdashery.
The class is an introduction to embroidery for beginners workshop taught by Celia Pym and I think it would be fascinating to take darning and mending to another level. See her work here:

I find this fascinating and by the way I have brazenly used this image without permission. You can find it on Celia’s website along with her other beautiful work.
First thing I cut up a Priority Mail envelope into long thin strips.

By making slits in both ends of each length you can join them together.
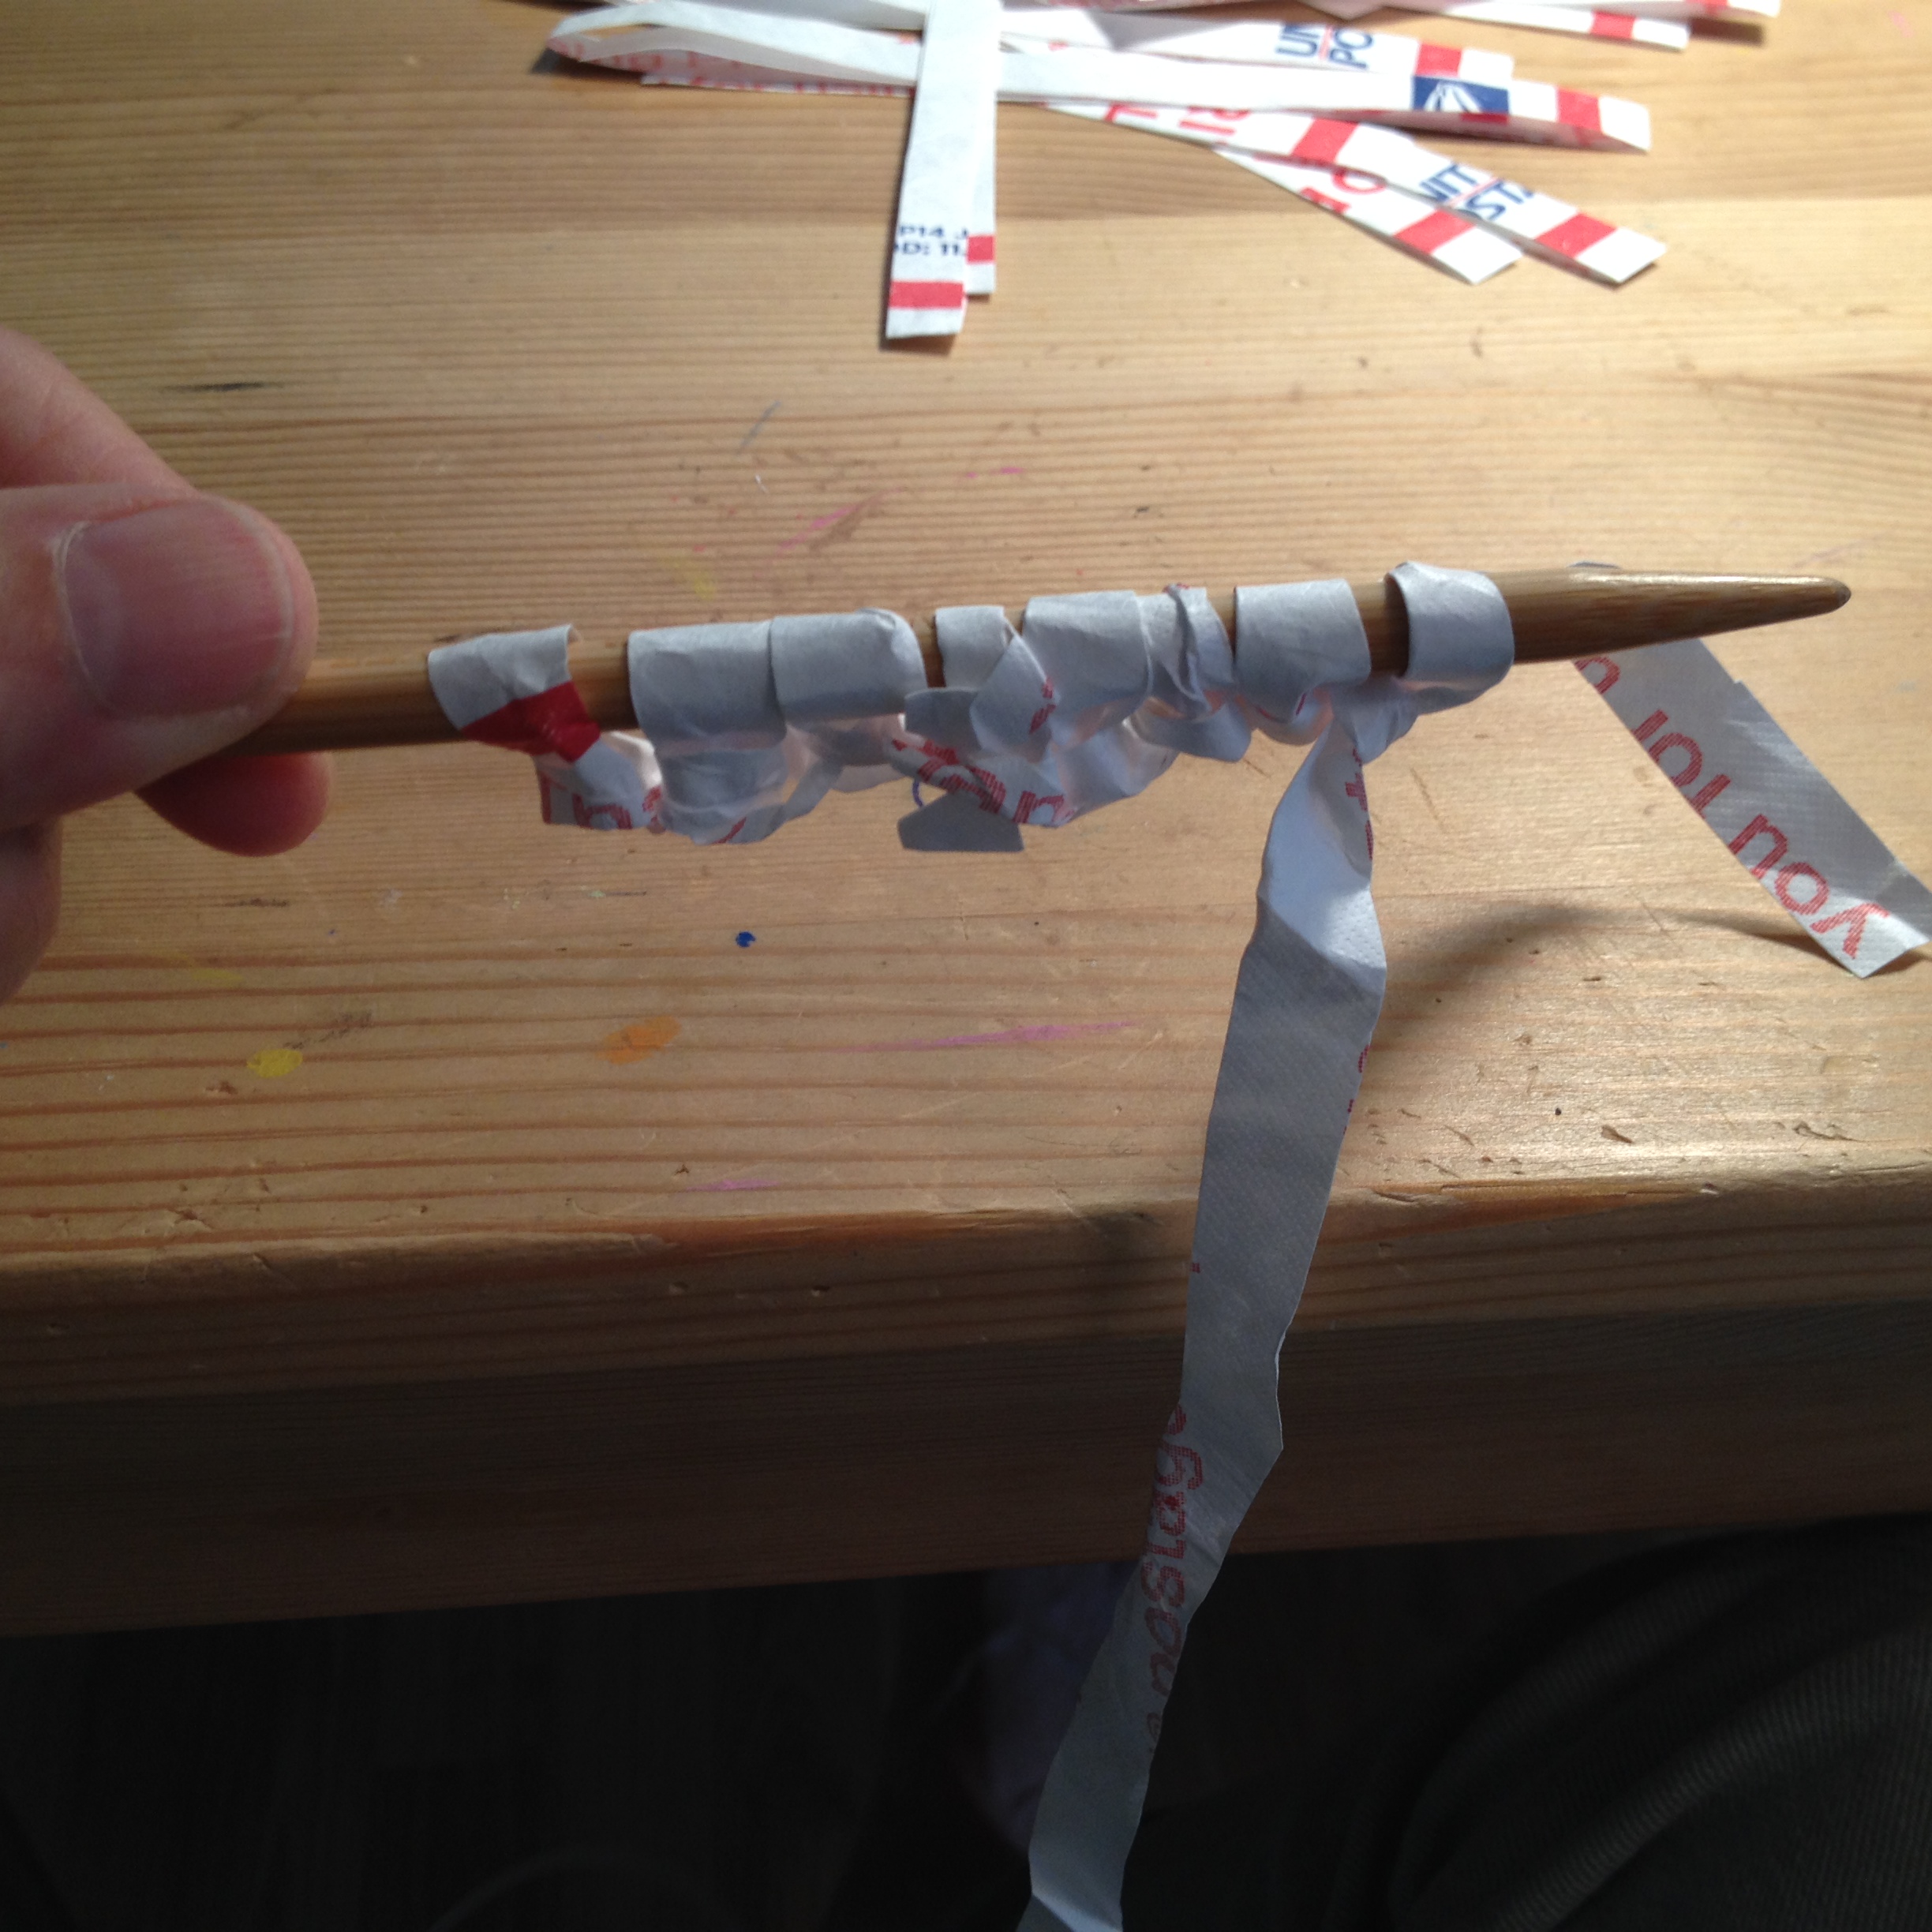
Cast on loosey goosey as it won’t stretch at all
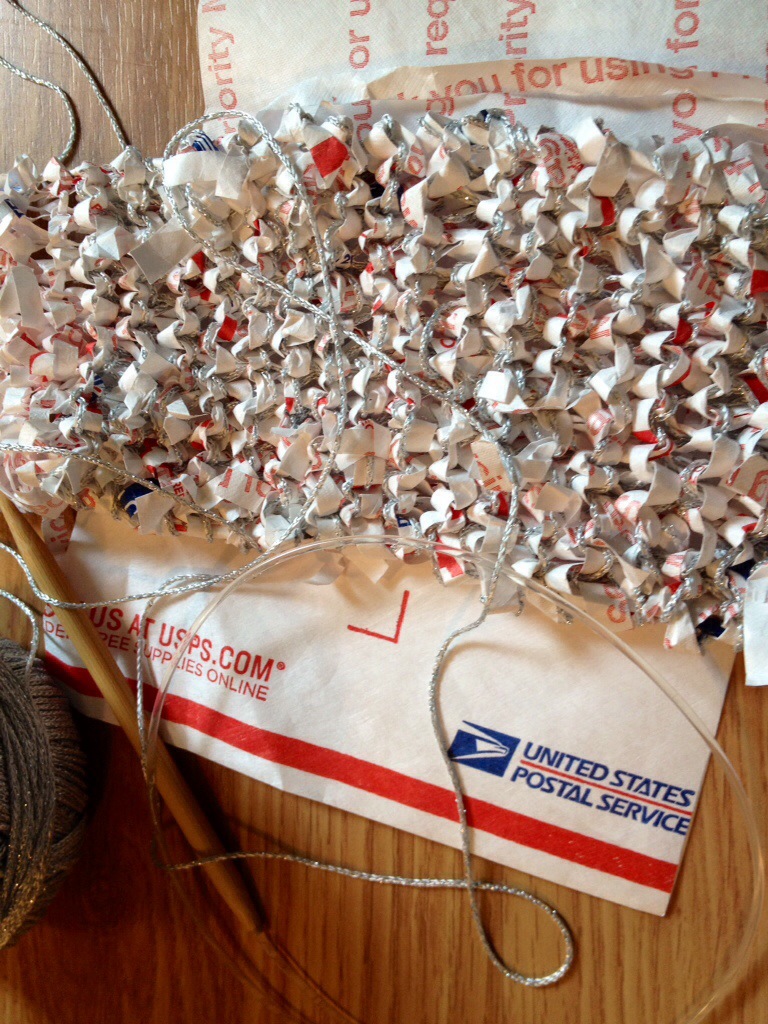 Because it is apparently a federal offense to use Priority Mail envelopes for anything other than actually mailing something I thought I better say that I’ve recycled this one.
Have you ever tried to rip one in half? I believe it’s made of Tyvek, the stuff they wrap around new houses to keep moisture and wind out under the siding. It’s really strong.
I cut long strips and connected them to make a ball of “yarn”.
The question is not ” what will you use it for or DO with it?”
The question is “was this a FUN project?”
And the answer is “YES!”
I have a beautiful little beach near me and I can never stop stooping to pick up sea glass. Most of it is brown, white or green (beer bottles?). I have a lot after seven years and am thinking of fun things to make. 


