Category Archives: Textiles

SLOW STITCHING: Darning and Mending

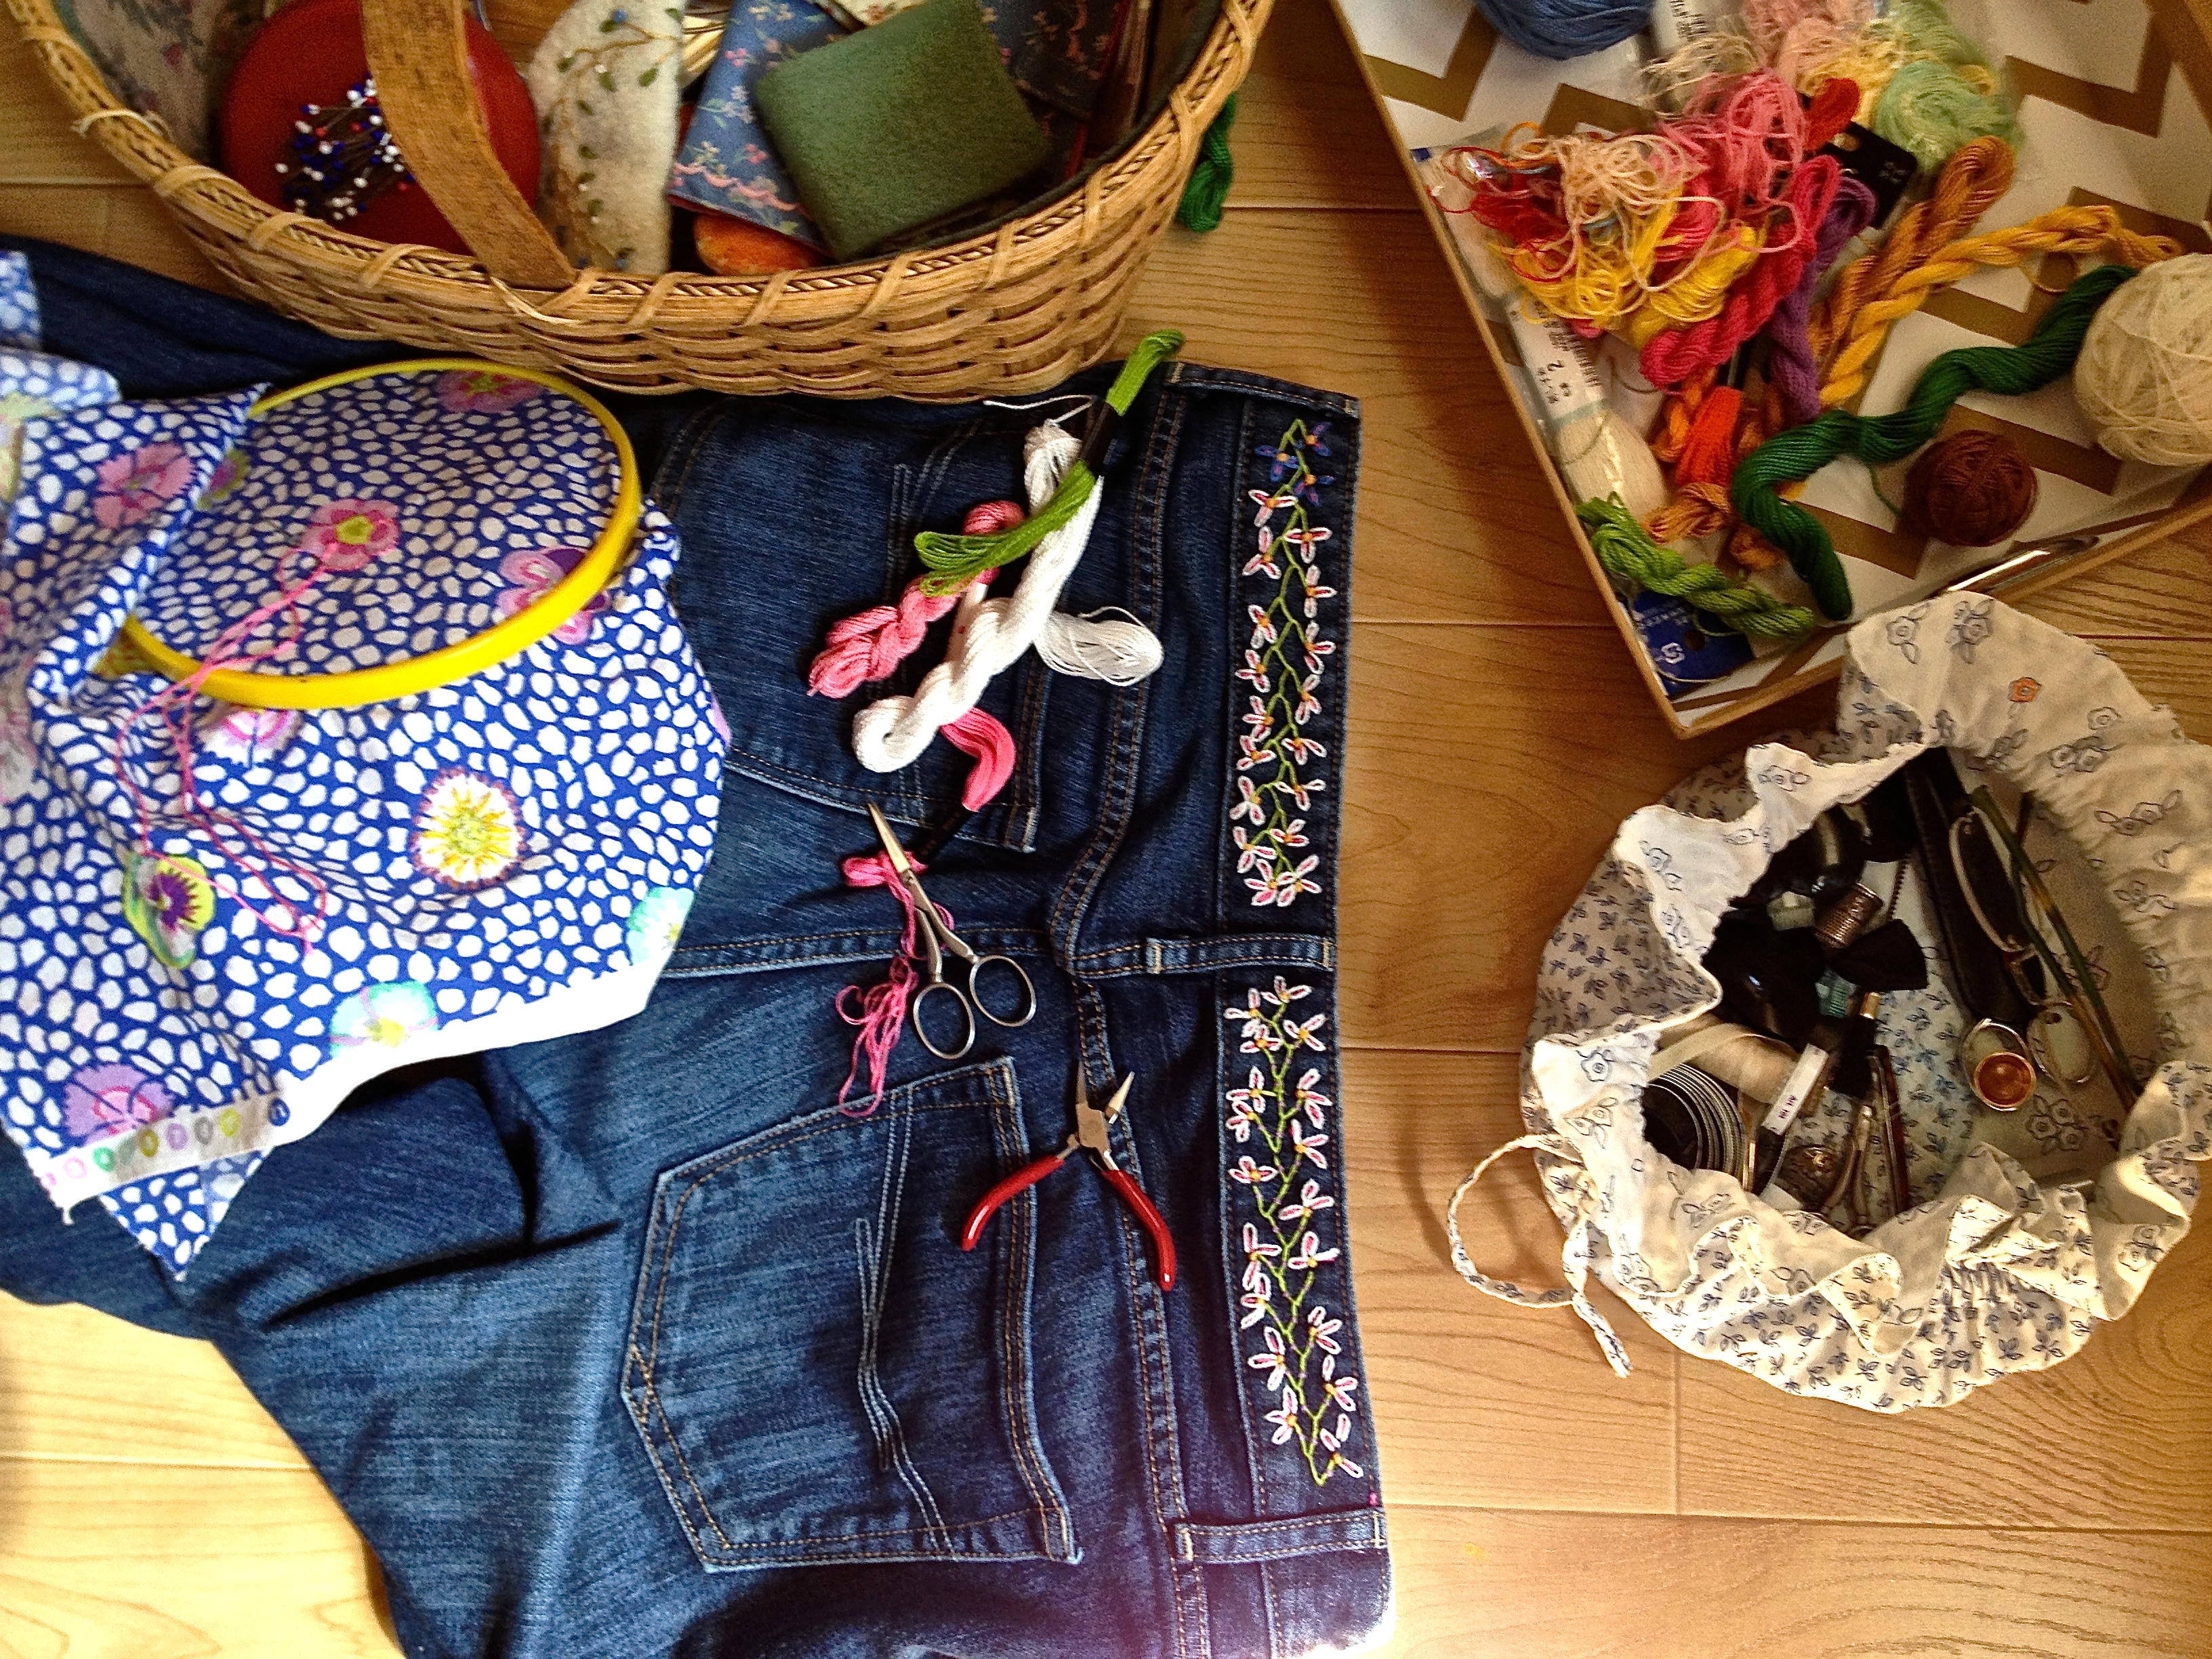
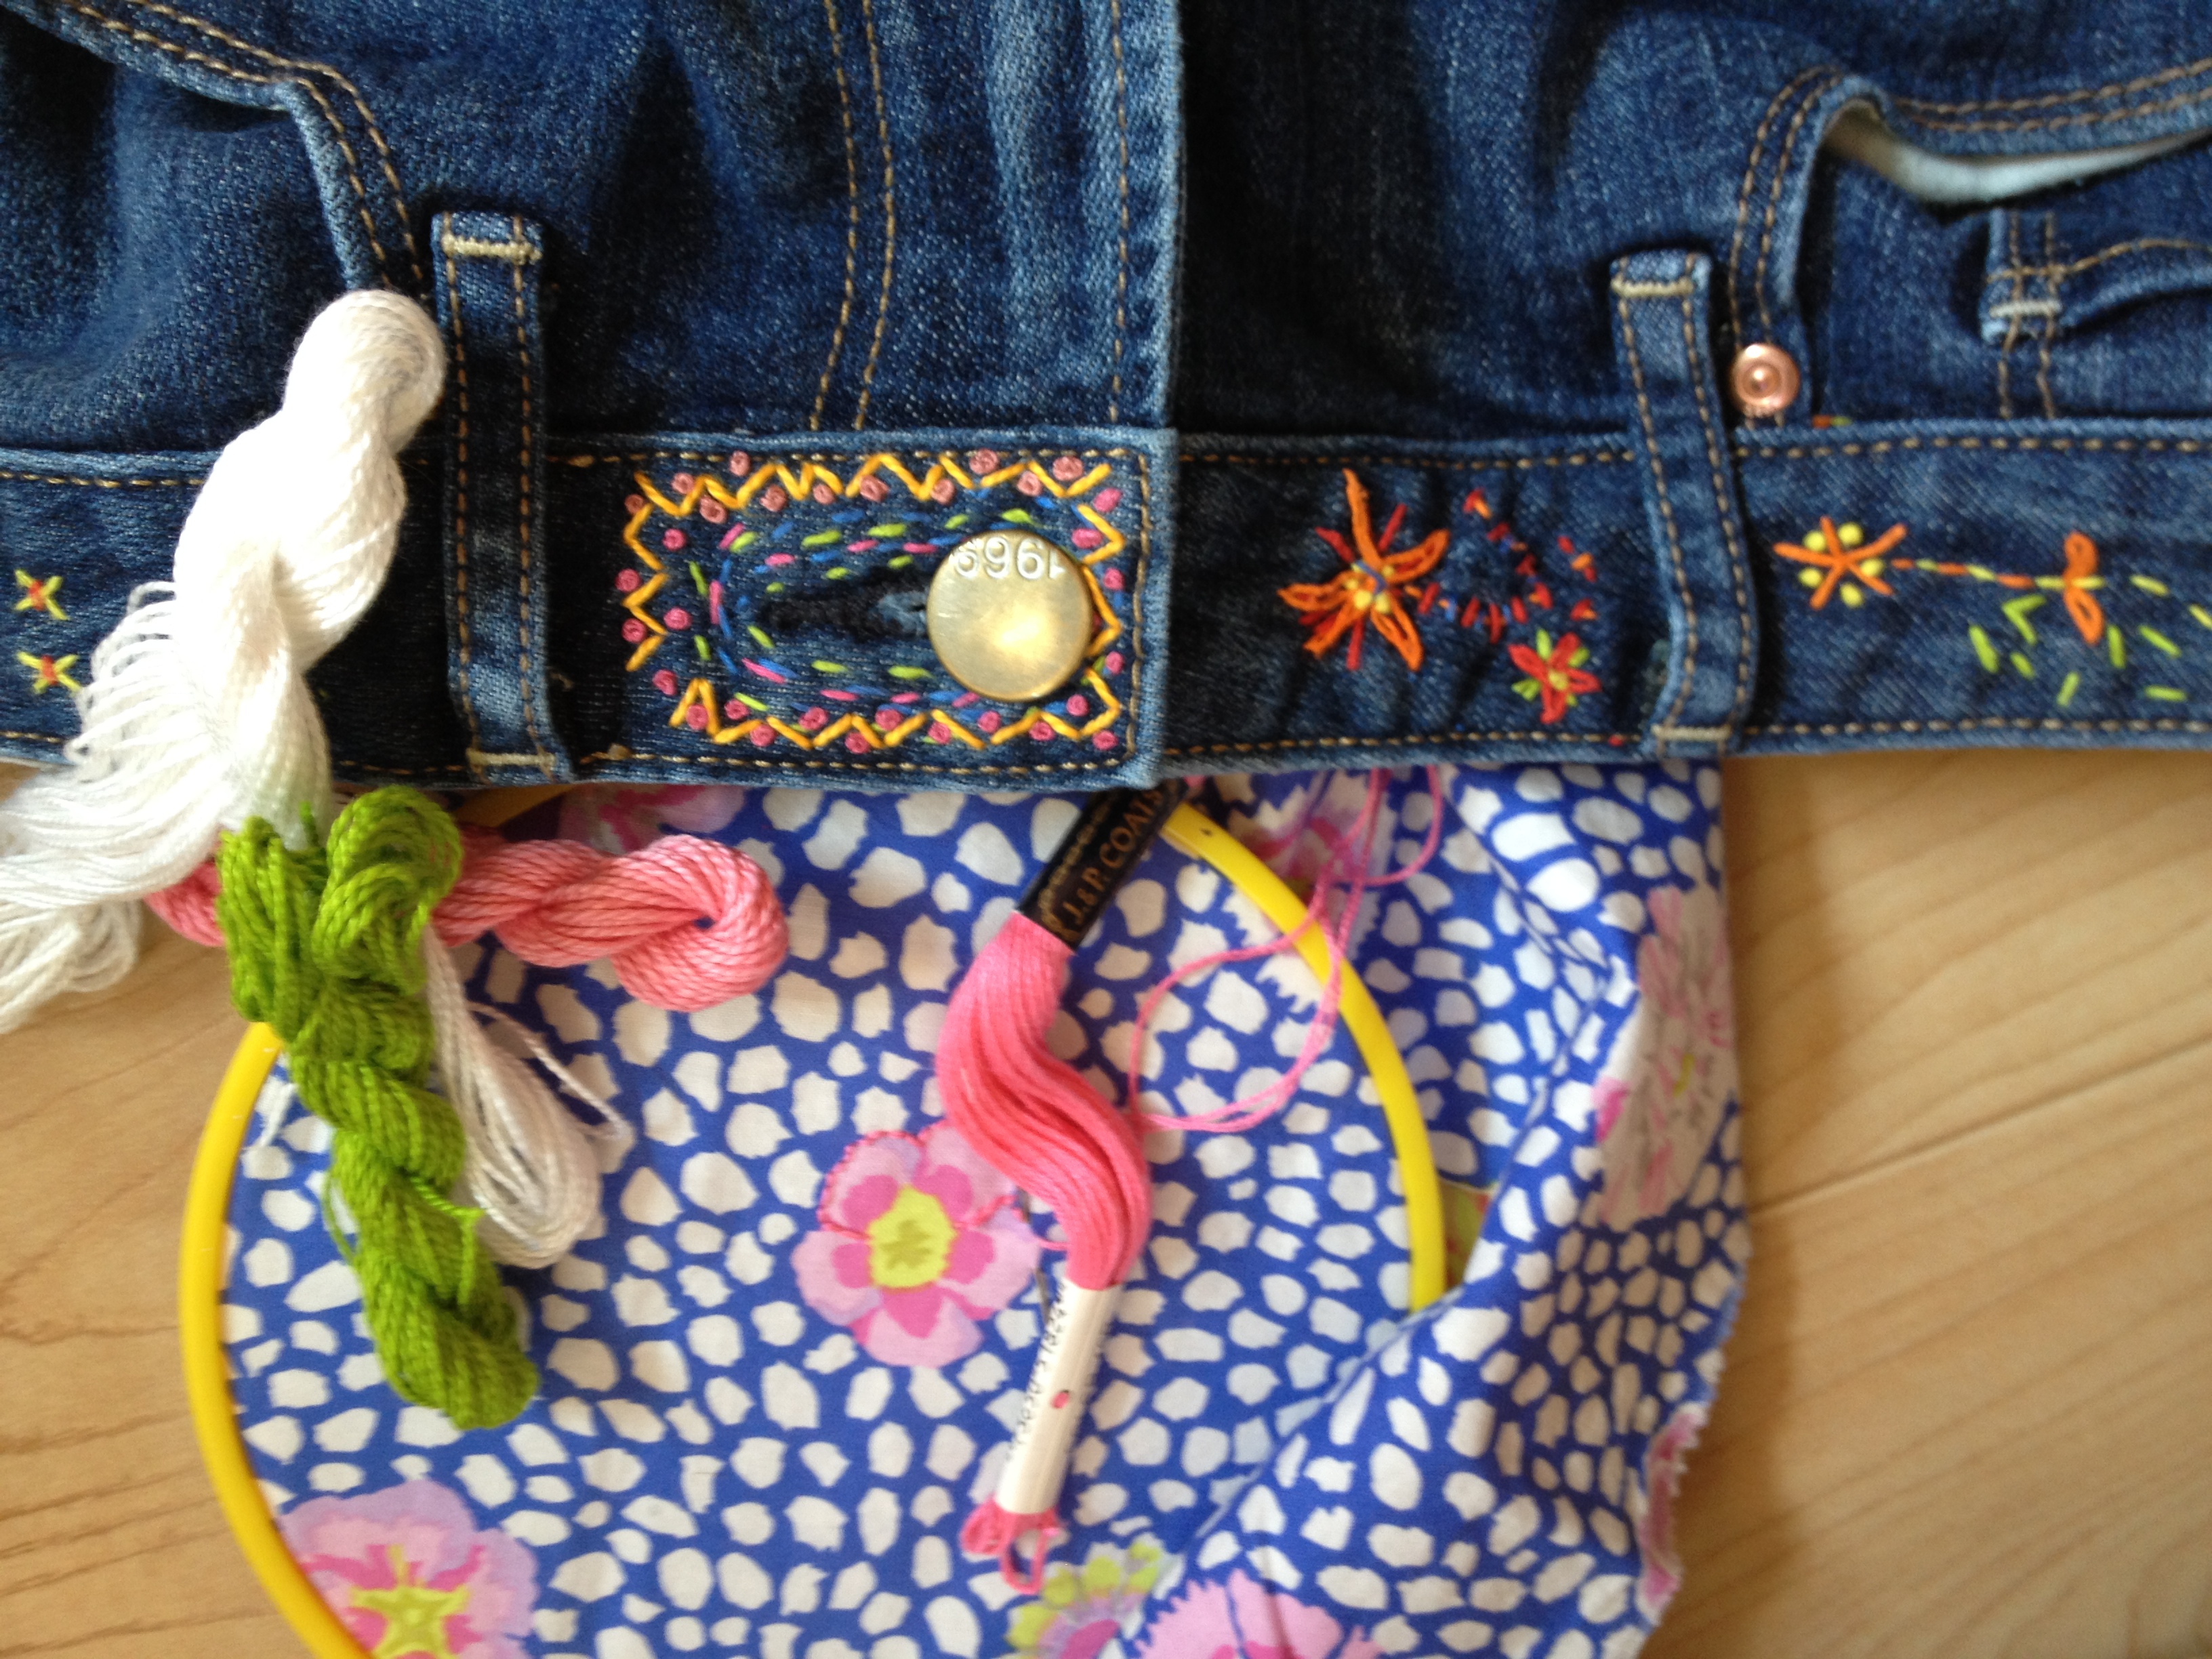
Lap work is my favorite needlework. I love to knit. Embroider. Hand stitch. Mend. Lately I have been taking things apart so I can harvest pieces of fabric to use elsewhere. I love to painstakingly pick out stitches and cleanup  the bits of thread up with my lint roller.

In knitting and sewing either by hand or on the machine I never seem to mind if I discover a mistake and have to go back. Picking, snipping and “unsewing” is as relaxing and satisfying as completing a finished project. I like to do a thing over and over until I get it right.

I like to buy cashmere sweaters on eBay and love to wash them in the sink  gently squeezing them in warm water with shampoo. Then I rinse and squeeze again in fresh warm water and put them in the washing machine to spin out the water (never let them agitate or they will shrink and full (felt). Then I pop them into the dryer for only  about 10 minutes with a fluffy dry towel, take them out and hang them on padded hangers to dry completely. The fibers bloom and they smell lovely- use shampoo that smells good to you. I do not ever have them dry cleaned. I don’t trust the toxic chemicals and they just don’t seem clean. They will not shrink if you are gentle with them.

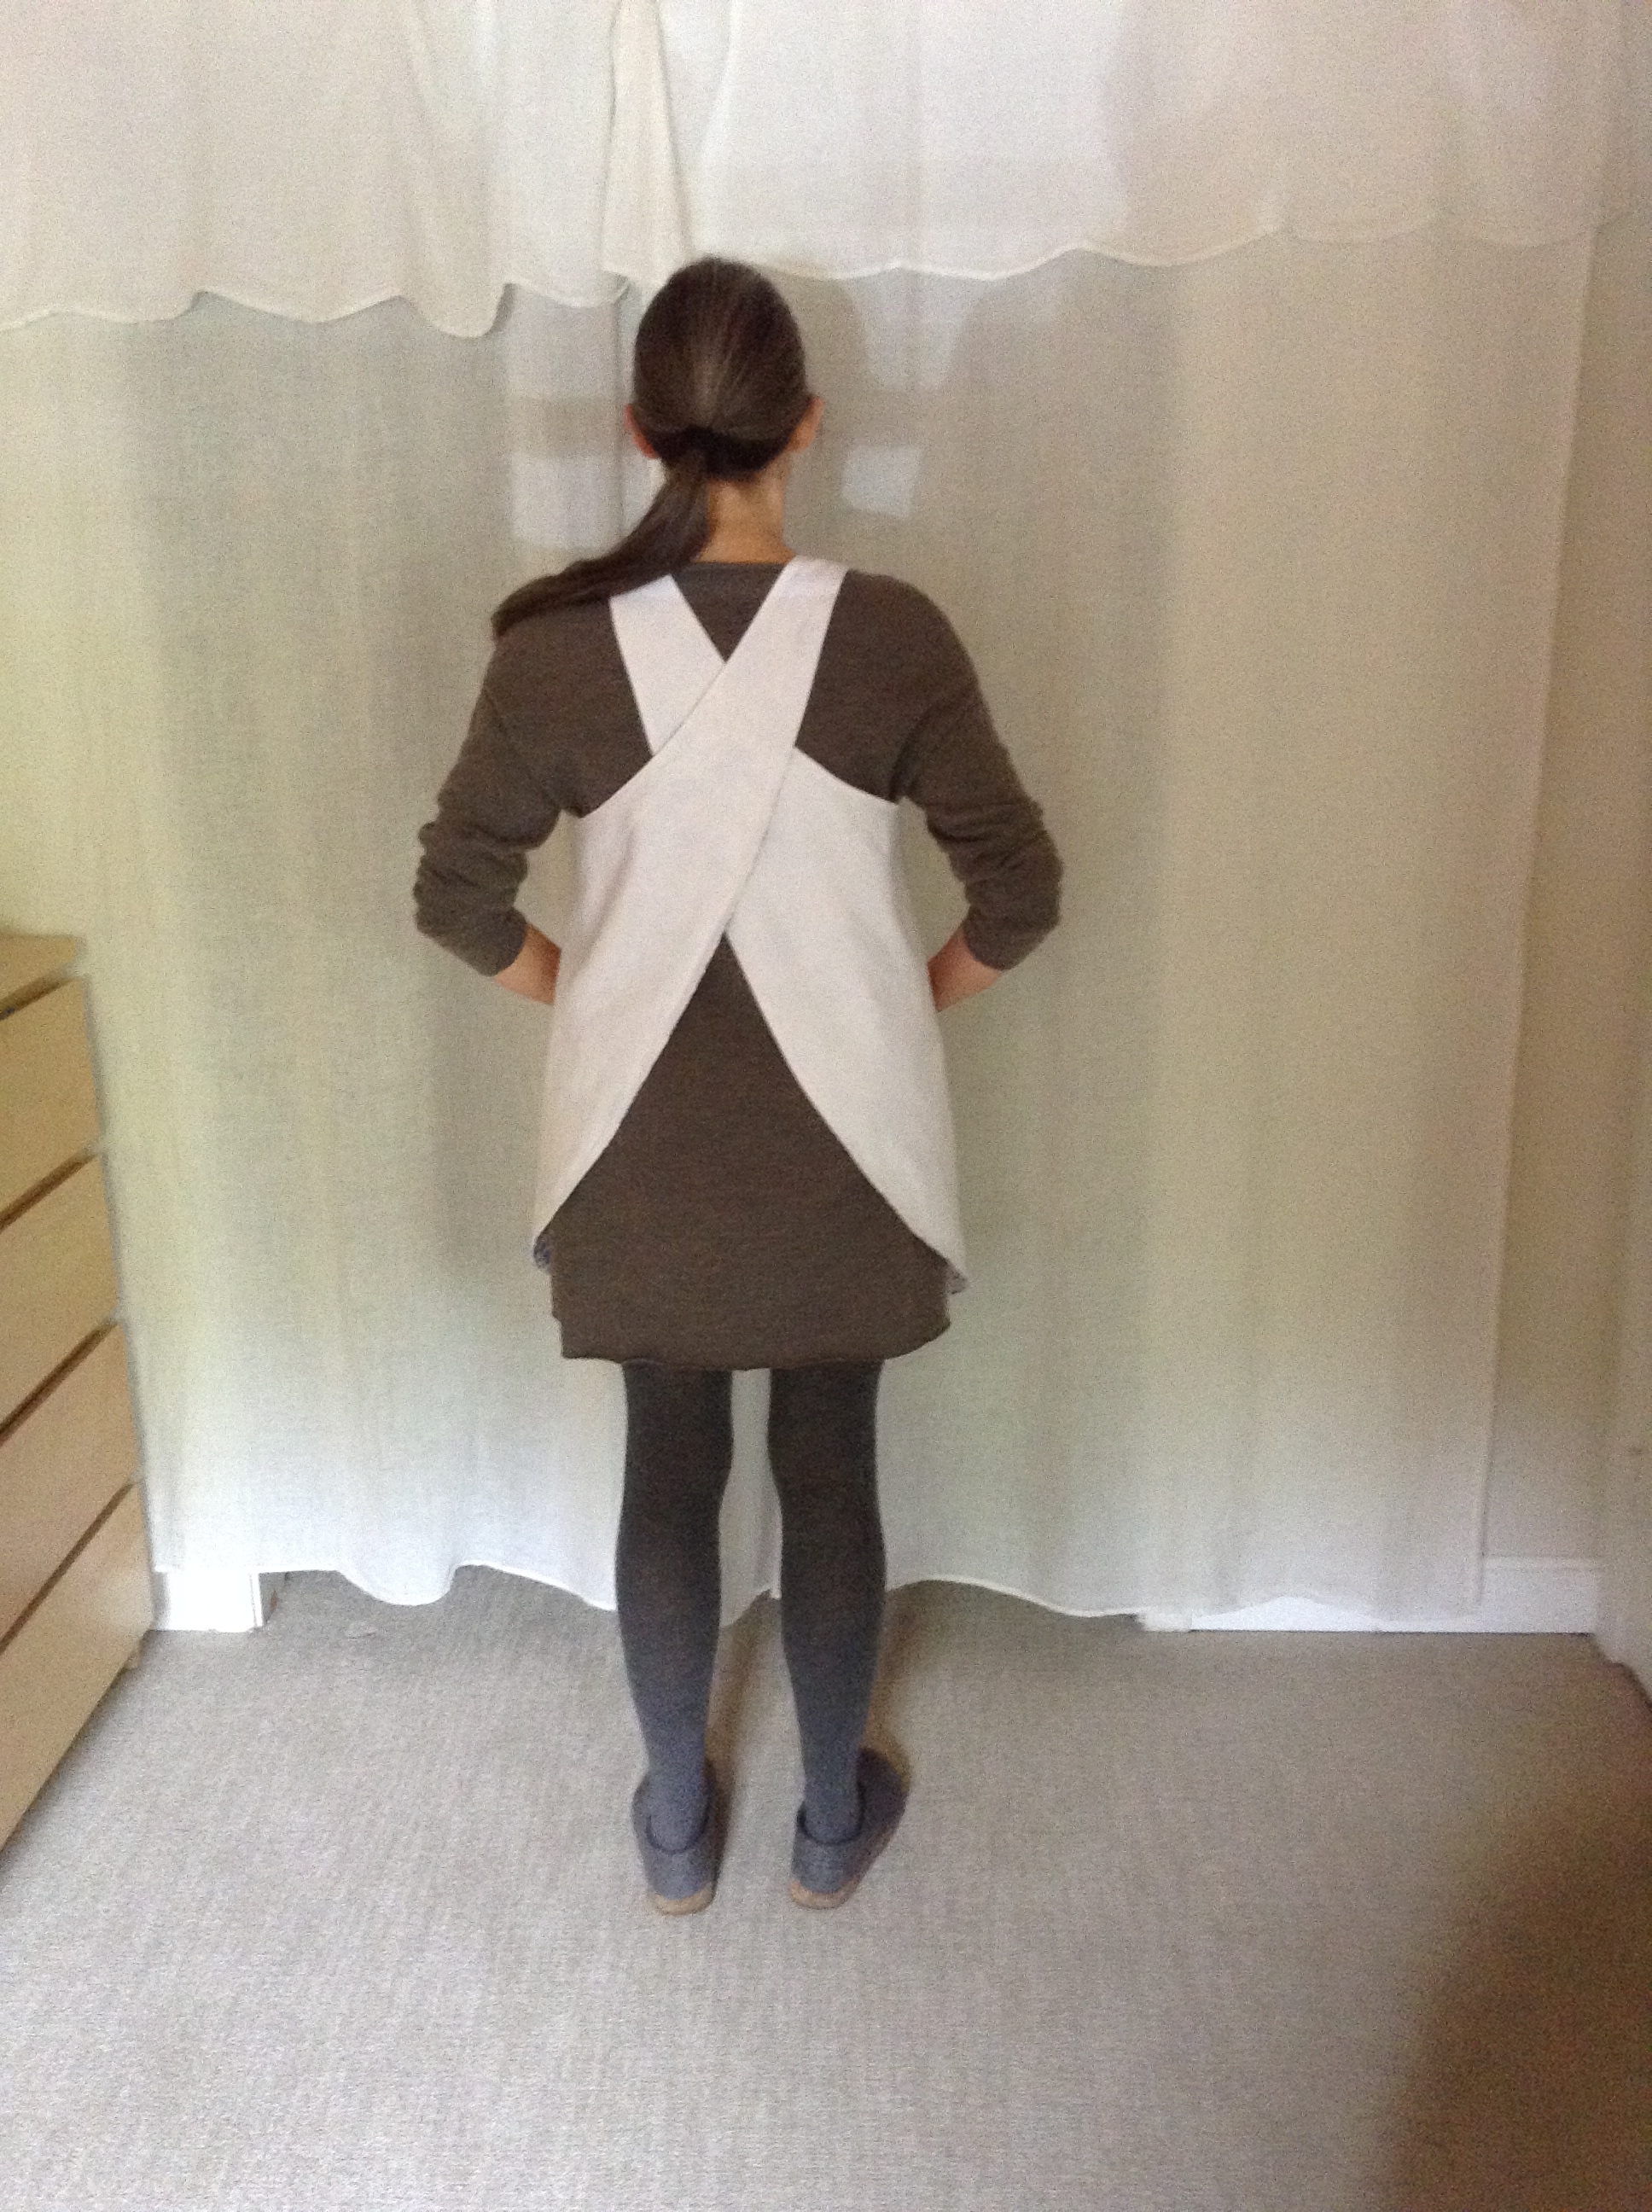
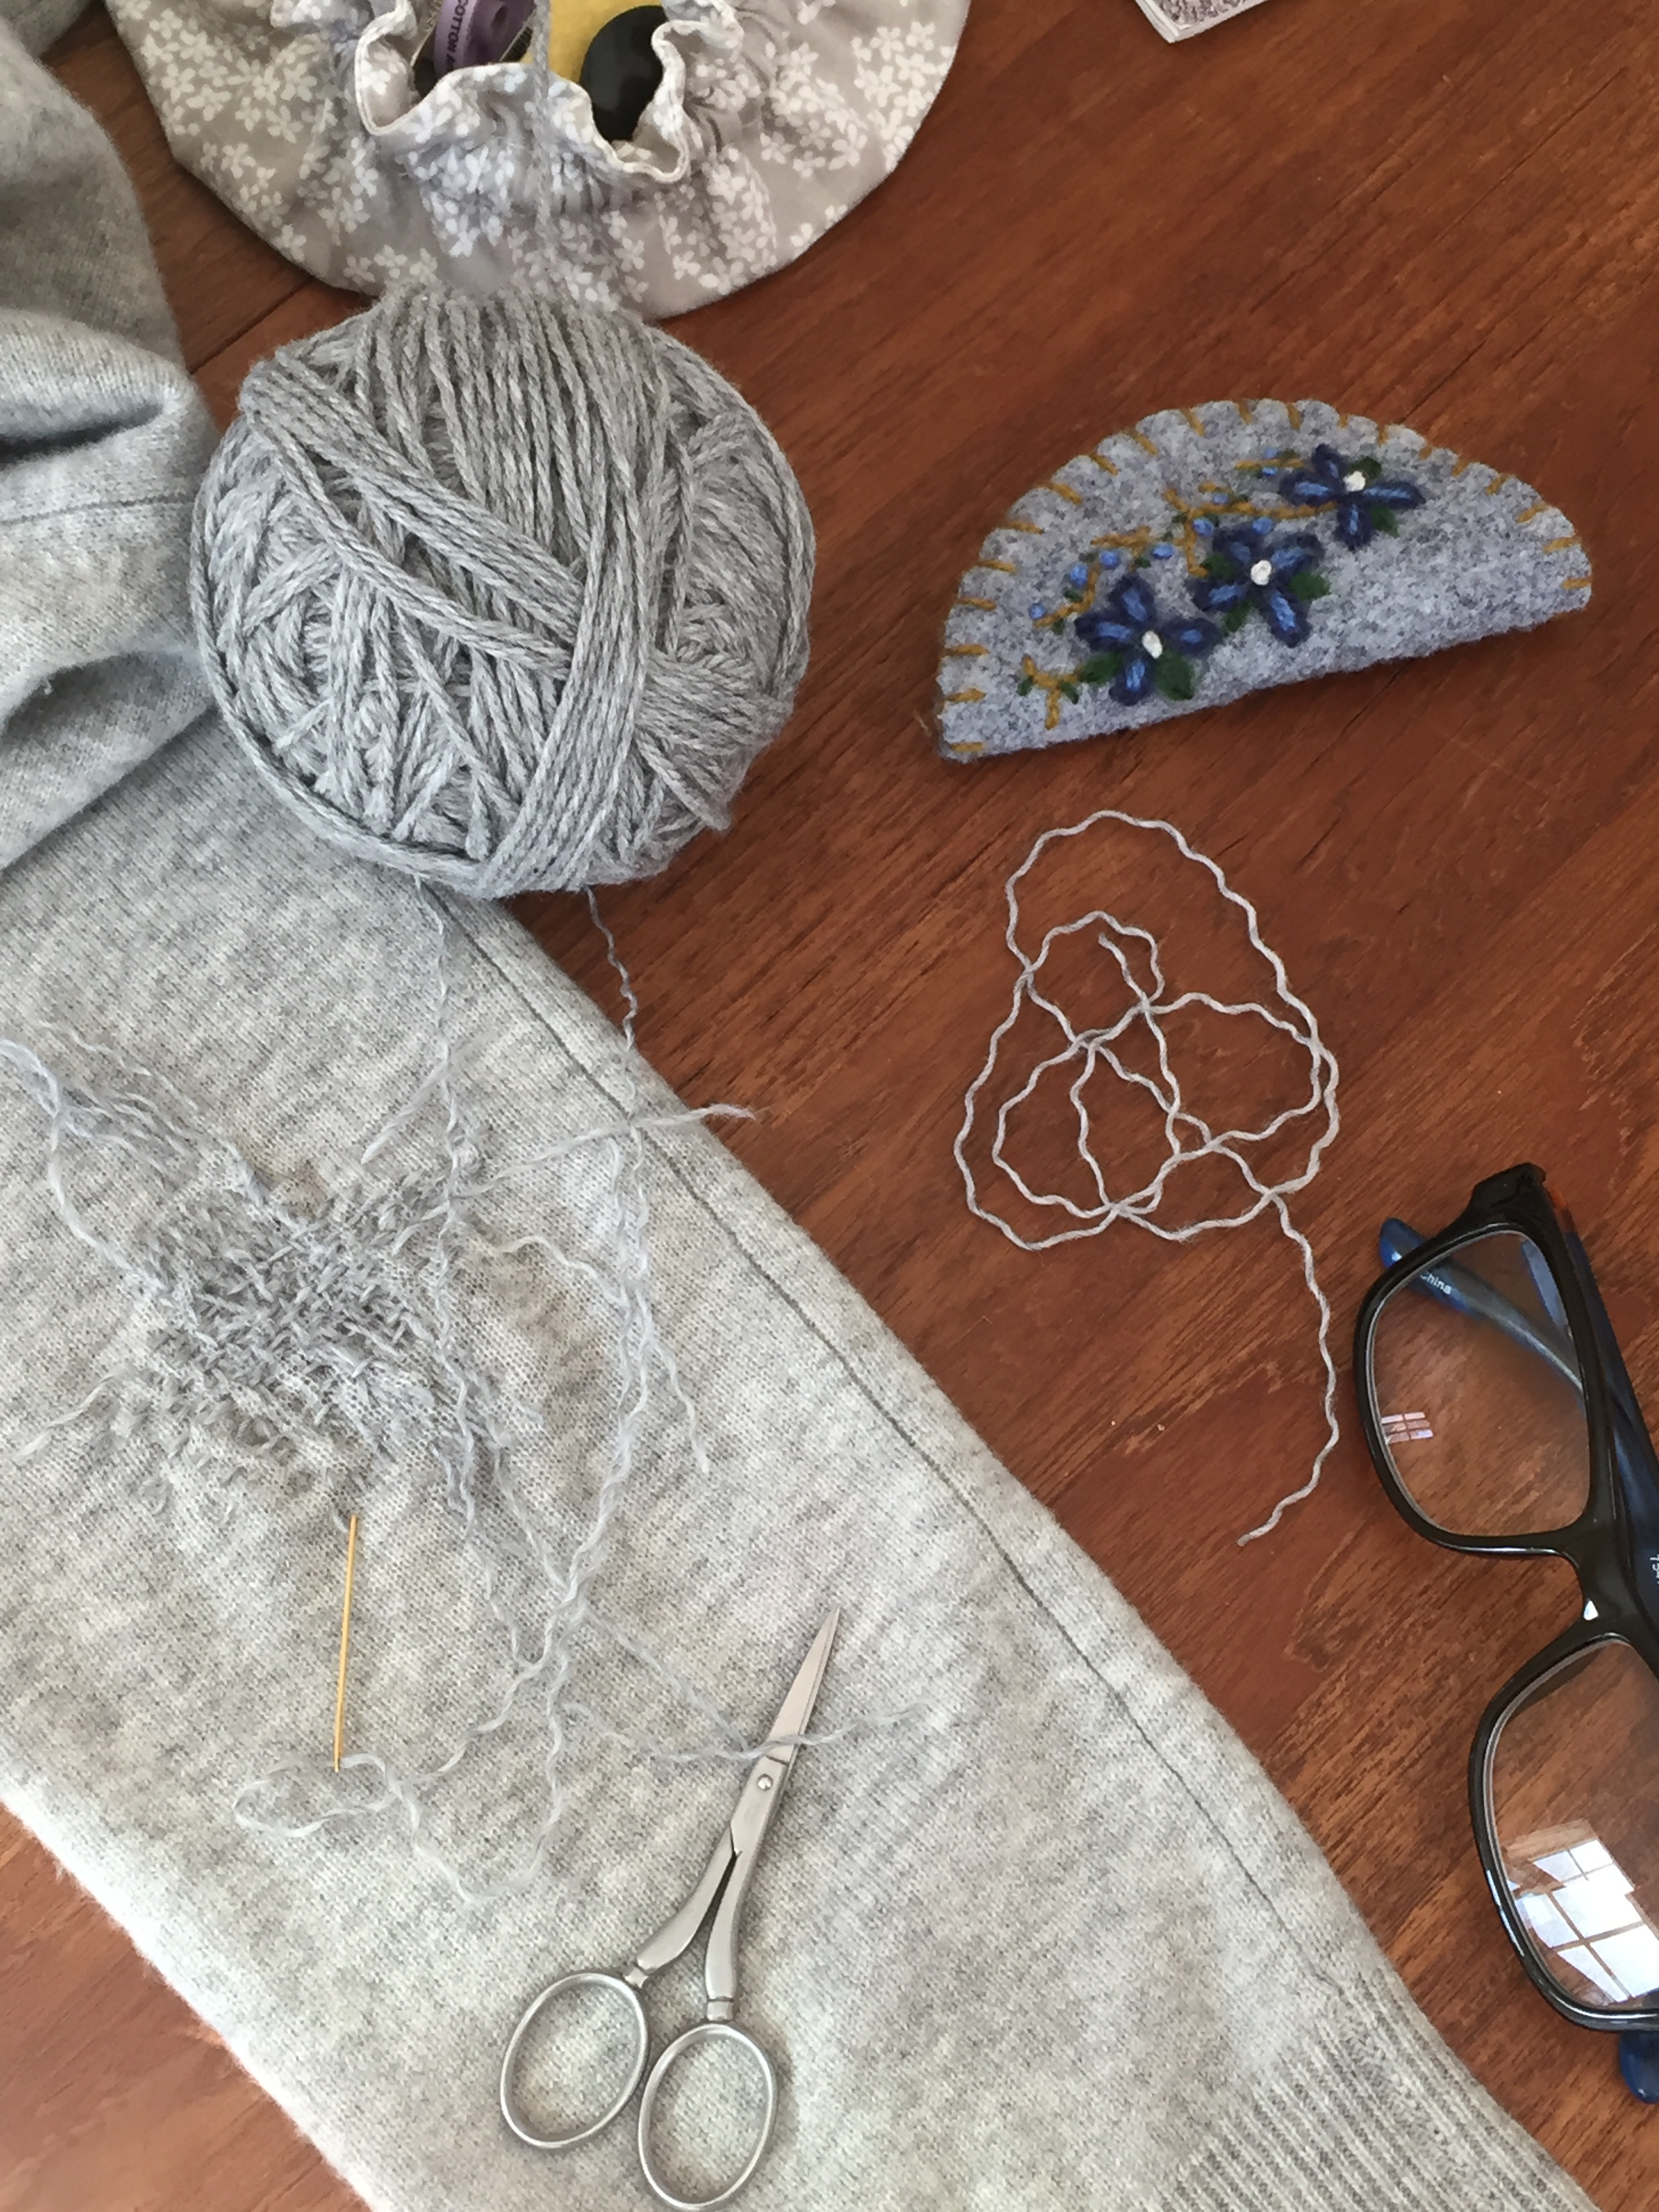
Here is one of my favorite cardigans that has been worn almost to death:

img_7992

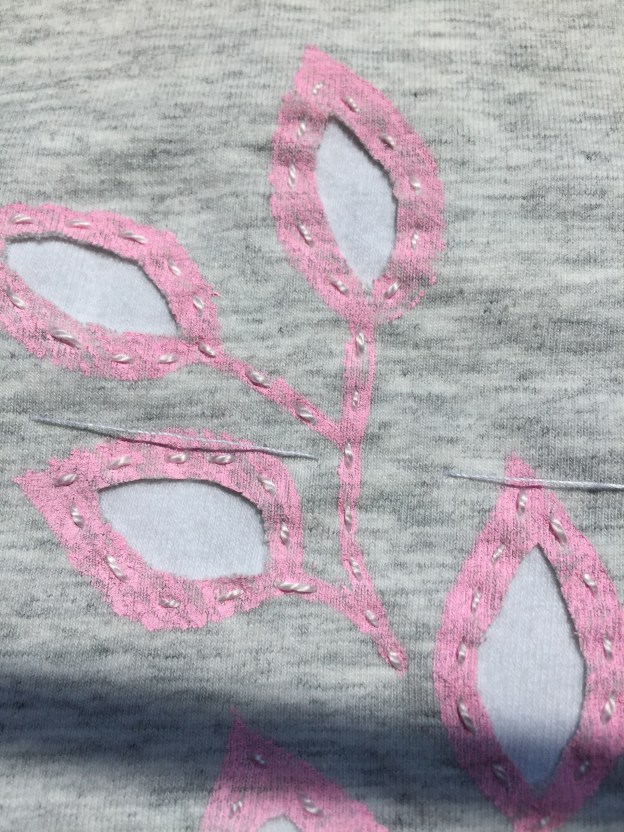
And here is the process. I had to practice and I took all the threads out a few times to start over. The most difficult thing is to let the fabric lie flat and to not pull or stretch the long warp and weft stitches as you create them. Puckering will result in an unsightly patch.

I was snowbound up in Maine for a week house and dog sitting for my kids while they escaped to sunny Sanibel Island. This was the perfect time to perfect this discipline. I had never mended anything this way. For thread I used some gray knitting wool by Cascade. It was 3 or 4 ply (I now forget) and very soft. I had to pull and let it twirl as I separated it.

img_7953

img_7947

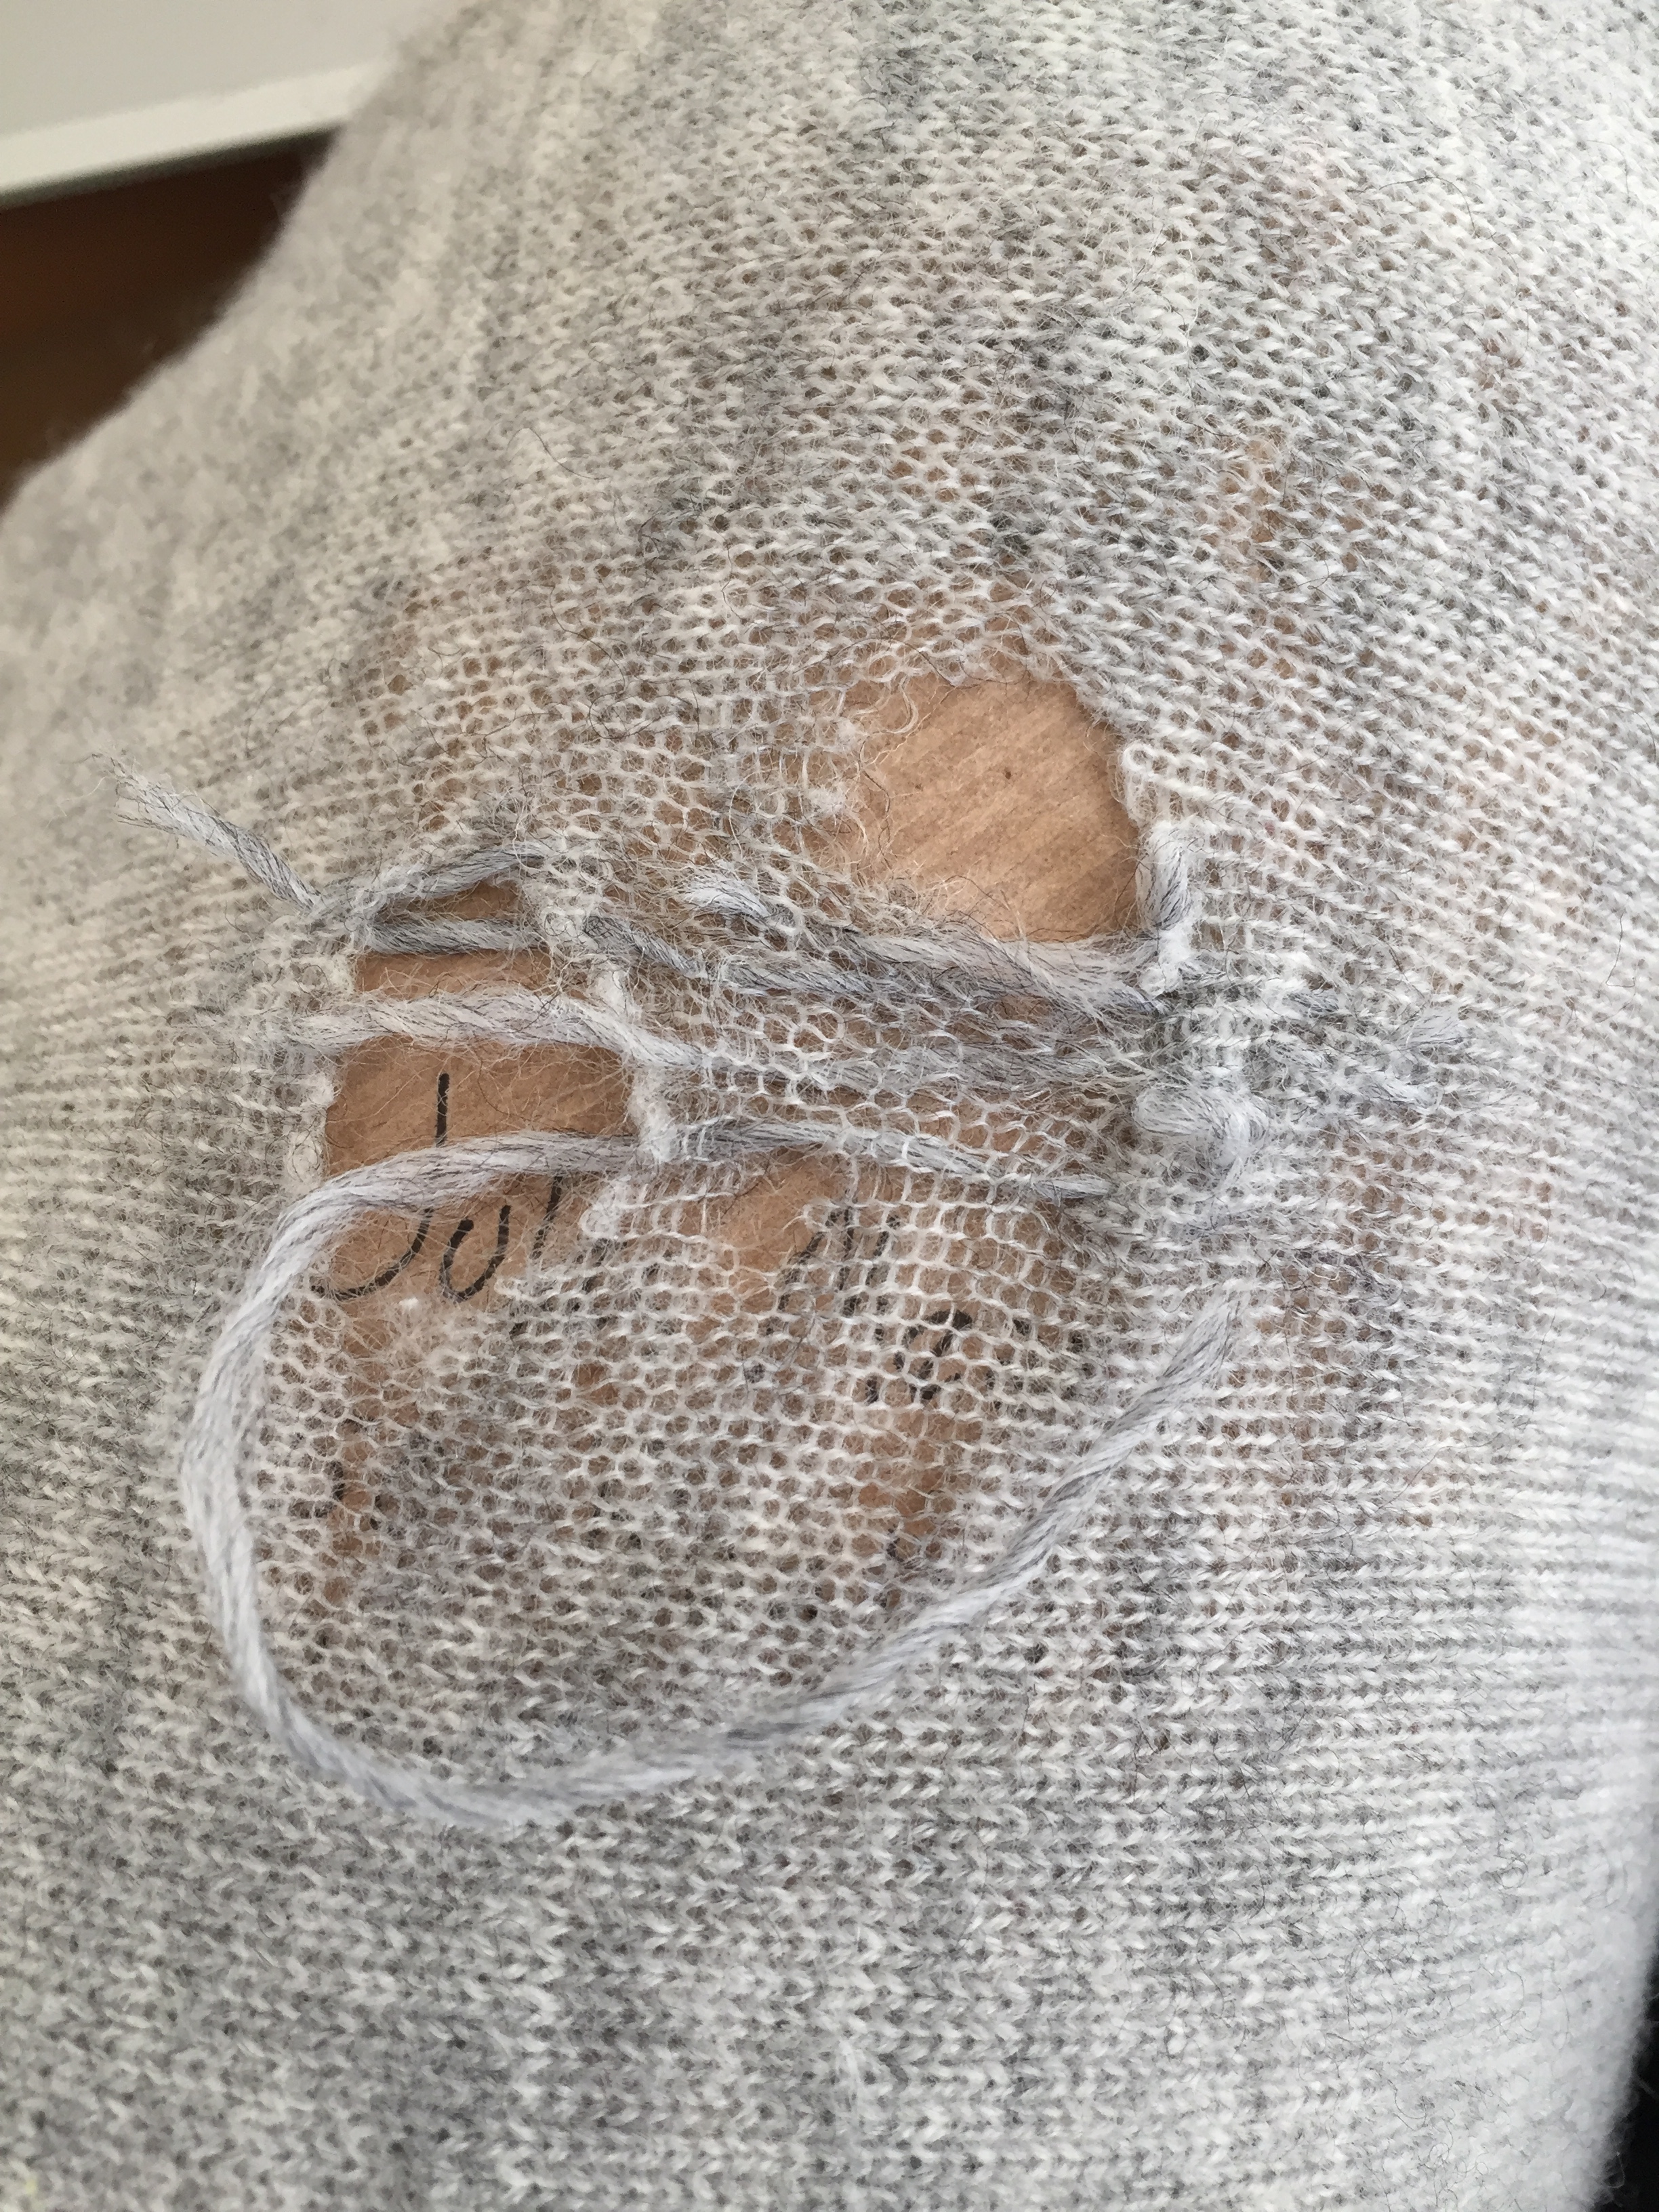
I used long lengths and pulled carefully creating a very rough looking web.

img_7949

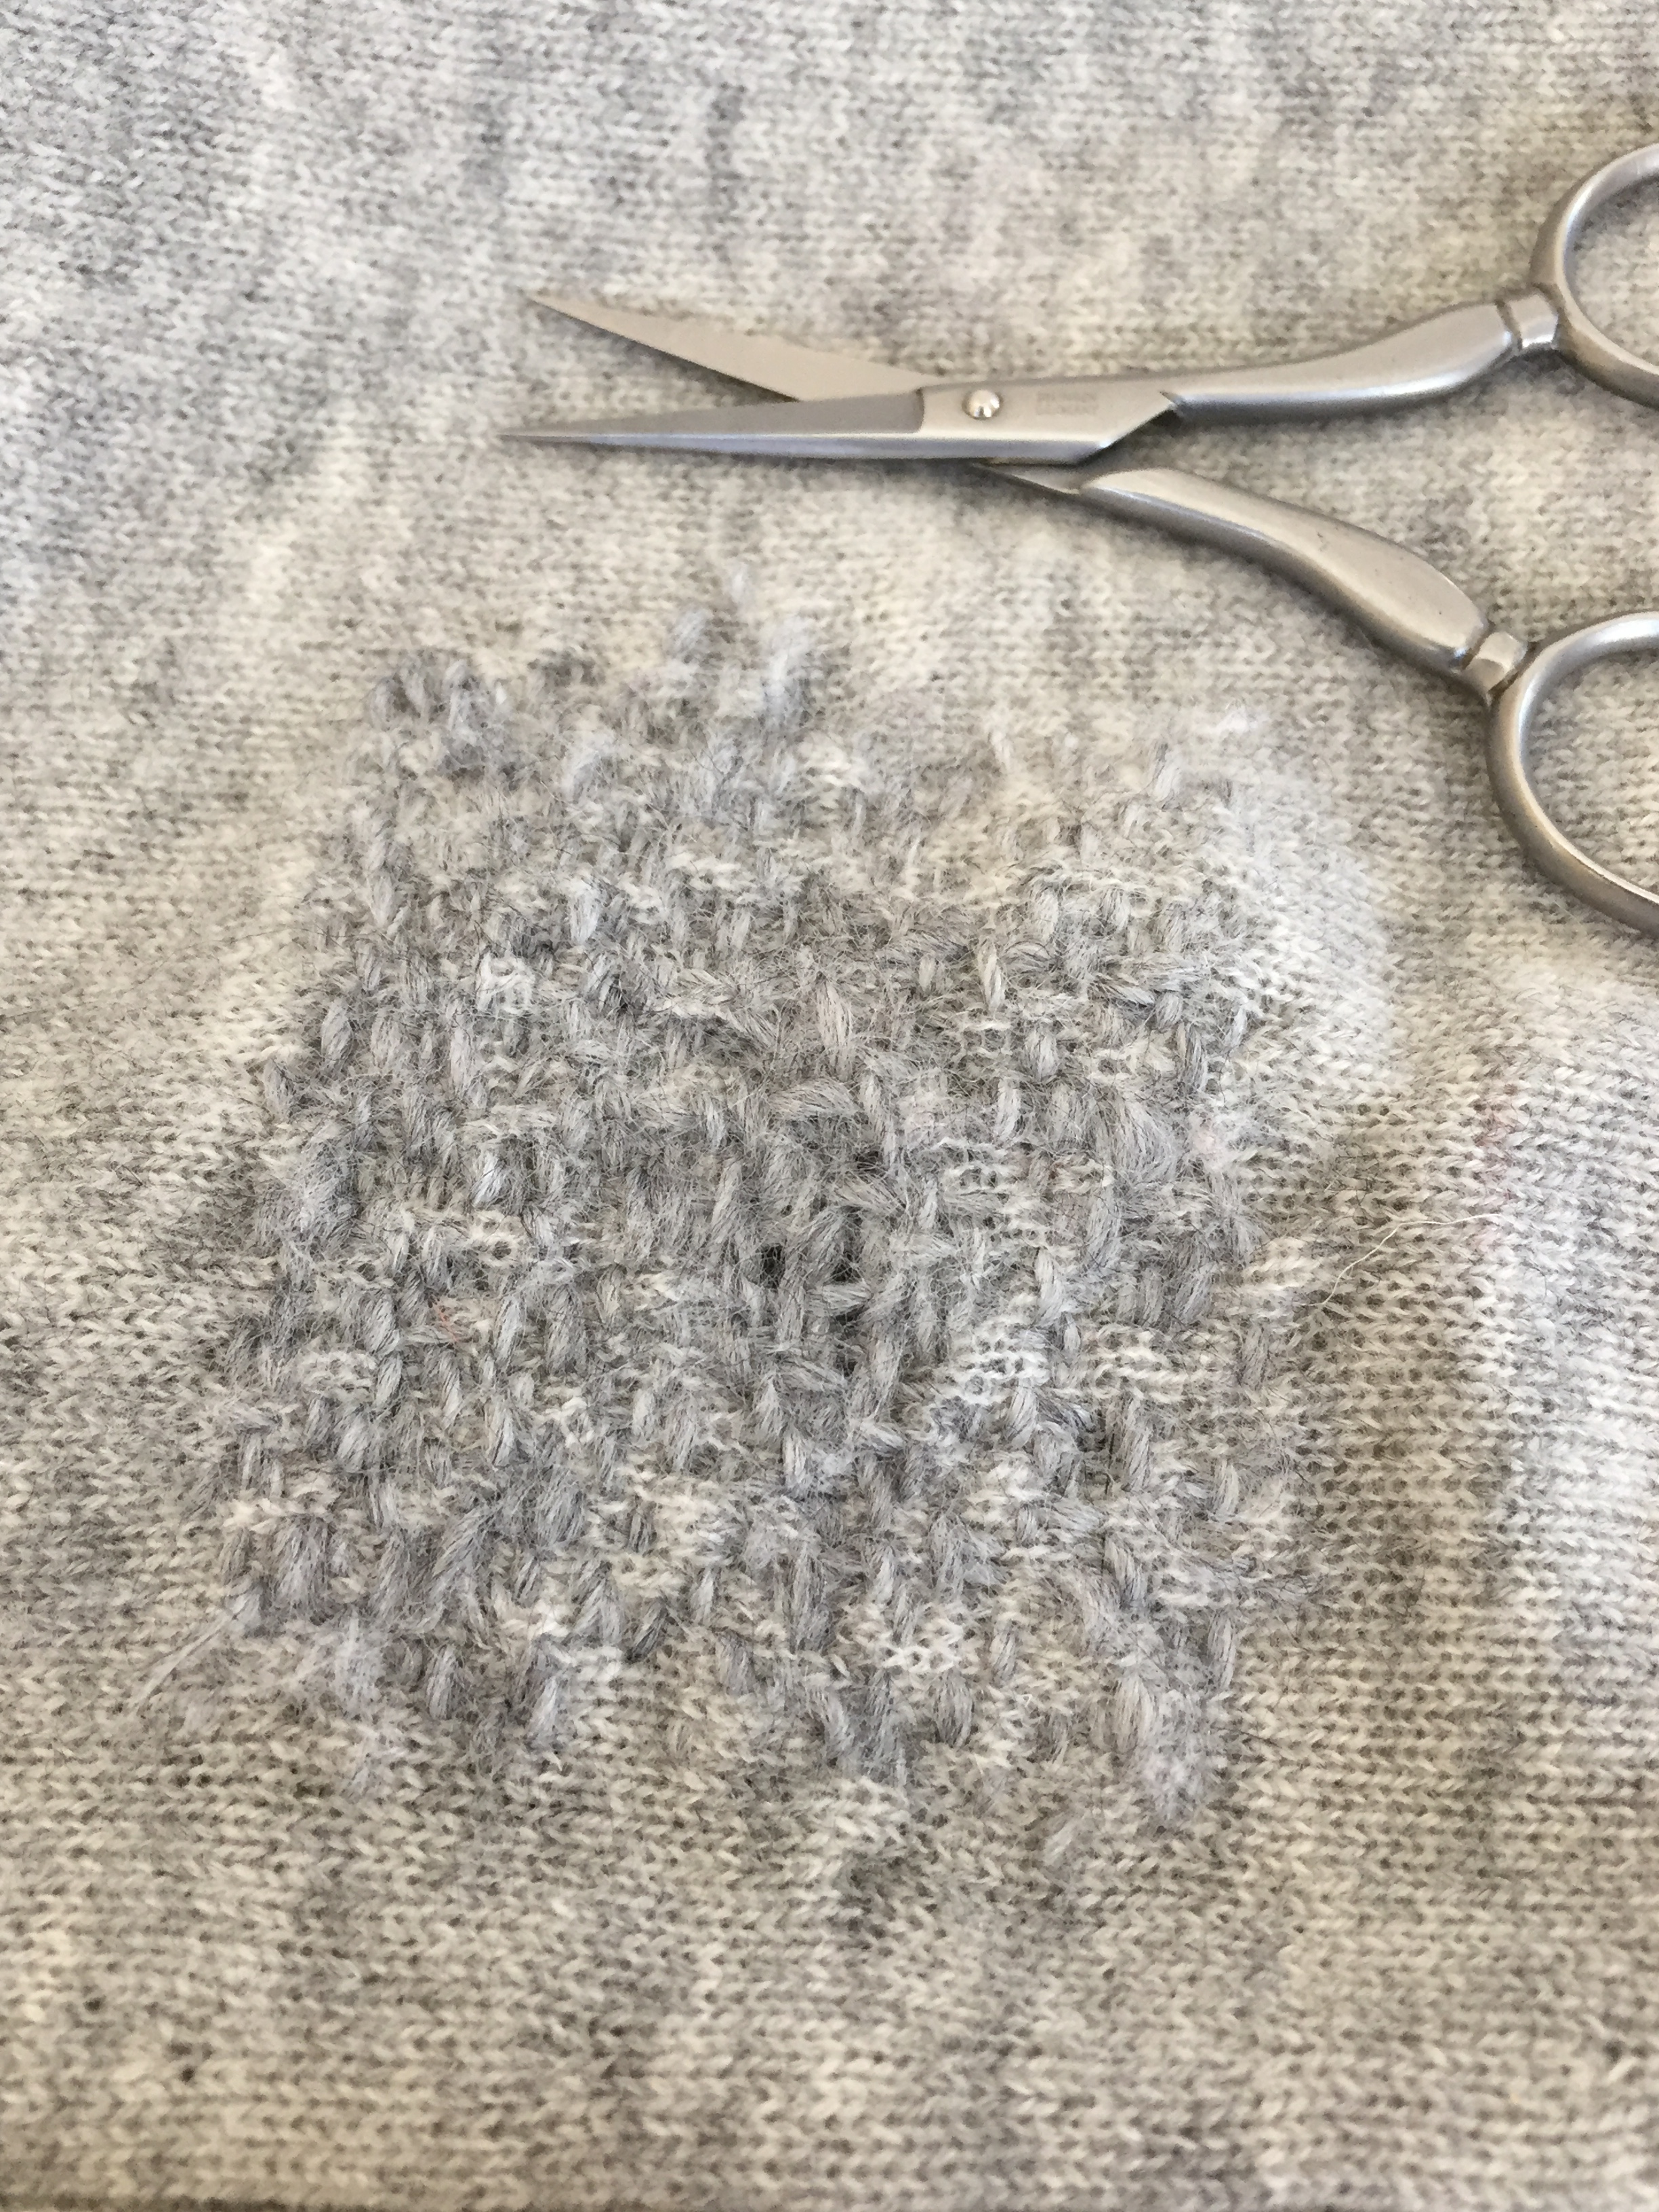
I just kept going, weaving in an out making it bigger around the edges. I don’t know if I did this a traditional way, but I do like the end result and am ready for the next worn out sweater.


My take on Alabama Chanin: a first look


I’ve been reading about Natalie Chanin and her beautiful line of clothing made with her hand appliquéd cotton knit fabric.

See her story at alabamachanin.com

I’ve started with two layers of fabric cut from two t-shirts, one white and one gray.  I mixed up some pink paint and block printed the leaves onto the top gray fabric and then basted the layers together.

Using #8 perle cotton I basted around the prints just inside the edges through both layers. Then I went back and cut out the centers of the stitched leaves.

I think that her method for constructing clothing is to cut out the pattern pieces, work the stitching on them and then sew the garment together.

This is my first attempt and I have no plans for it, but I think I will be making something to wear eventually. I love to have lap work I can bring around with me and this is perfect.

IMG_6510


One Pattern= many possibilities

Inside the Spring 2013 issue of STITCH magazine by Interweave Press I found this pattern for  “Sweet Rain Jacket” designed by Katrin Vorbeck

1358413365_stitch-spring-2013-13225.preorderspjacket.JPG-550x0

There was  download link  http://www.interweavestore.com/stitch-spring-2013  so I printed it out. Many pages. I organized them, taped them together, chose my size and cut out the pattern pieces. All of that took almost as long as making the garments! And it was well worth it. I am about to start a third project with this cool pattern.

Here is the first garment I made. It is a spring coat, not a raincoat. It is a beautiful woven fabric from my stash about the weight of light denim, same on both sides, 100% cotton. I used large black snaps and embellished it with a running stitch using dark red Perle cotton size 5 “Old Brick” from Valdani.com . I didn’t line the hood so I used vintage cotton grosgrain ribbon to conceal the serger stitches along the inside hem of the hood.

Then I took down some lovely flimsy old linen from France that I was using as a curtain for my closet.  I used the faggoted edge as the hem of this dress and made it floor length. I found some tiny mother of pearl buttons in my great grandmother’s stash. The buttons were so small I didn’t want to spoil the look making either machine or hand made buttonholes so I simply sewed them on and they are decorative only.

Instead of a big box pleat I gathered the fabric around the empire waist. I lined the hood to give it more umph and I do like the way it looks all drapey down the back. Wispy as a nightie, a beach cover up or a pretty party dress- I really love how this came together.

Blanket Stitch Folk Art Pillow

Close up bird pillowblanket stitch techniqueIMG_4109

Back of Bird Pillow

Back of Bird Pillow

Stitched, stuffed and finished.

Stitched, stuffed and finished.

There are many sources now for 100% wool felt. When I buy it I put it through the washer and dryer to shrink it to a pebbly feel. More on that in another post, but for now I want to show you a simple pillow that’s an easy project for a gift.

A purist might stuff it with wool fleece, but I used poly fill from the fabric store for this one. I couldn’t bear to part with my fleece that has been beautifully cleaned and carded for spinning.

Soon I will do a post on spinning and things to make with your own wool!

Shredded sweater obsession

TO SHRED OR TO MEND- ROGUE KNITTING 

Antony Hegarty wore a shredded sweater in the Leonard Cohen documentary, “I’m Your Man”. He was singing “If It Be Your Will”. The sweater is horribly beautiful. Does that make sense to anyone else?

I found this image on Google today:

7178-tp-332_export10-035th-107

It is featured on a site called imbossy.com

Check out this cool tutorial: http://blog.boatpeopleboutique.com/projects/destroy-diy-shredded-sweater

I read today about an interesting class at a London’s Ray-Stitch haberdashery.

raystitch.co.uk

The class is an introduction to embroidery for beginners workshop taught by Celia Pym and I think it would be fascinating to take darning and mending to another level. See her work here:

celiapym.com

unnamed

I find this fascinating and by the way I have brazenly used this image without permission. You can find it on Celia’s website along with her other beautiful work.

Sailboat

Yacht? Sloop? Schooner? Ketch? Yawl? I did learn this in sailing class a long time ago, but I don’t remember much. I do have wonderful memories of sailing in 210s, Lightnings, Flying Terns and Turnabouts. We had wet sponge fights after the races and if it was really hot we dared each other to capsize our terns learning too late that the new fangled metal rudders were not secure and our dads had to hire scuba guys to retrieve them.

Sailboat applique

Sailboat applique

Some years ago I taught appliqué stitch quilting at Cranberry Quilters in South Hamilton, MA. This is an example of appliqué done with zig zag stitches on the sewing machine. IMG_3524 IMG_3522

Block printing

I like the pink blocks best. They don’t crumble like the blue ones and the white ones. So far I haven’t liked the Lino or wood because it’s much harder to carve and I can get as much detail with the pink as I need.
I tried tracing with carbon paper and all that but now I just keep it simple by free hand drawing with a ballpoint pen. You don’t have to follow the lines exactly and you can really see what you’ve got with no smudges.
I use a bunch of carving tools that you can buy in almost any art supply store. “NIji” brand tools have a straight wooden handle. “Speedball” has a set with a bulbous red handle. I don’t recommend one over the other, I just pick up whatever feels sharpest and right at the moment.

20140530-163006-59406091.jpg

Simple Wrap Apron

photo 2-3 photo 3 photo 4I have been looking for a pattern to make this kind of apron/pinafore for ages. I found it! I love this one and it was fun to make. I chose to line it and make it reversible, but you can make it not and it will feel lighter. See here for link to Japanese Sewing Books website with this pattern and tutorial:  http://www.japanesesewingbooks.com/?s=apron

I just discovered this neat site from Singapore. Her name is Yifarn and her blog is brilliant (and perfectly translated!)


Belt without bulk

IMG_3456This reminds me of the old days when we embroidered everything denim. I like the work on the back so much I think I’ll pick out the stitches on the front of the waistband and continue this all the way around. I love that it looks like a belt but with no extra bulk where I do not need it.

IMG_3457